LAMP环境搭建(初初级)


思路:
1.什么是LAMP
2.LAMP是怎么协同工作的,为什么需要的是这四个组合
3.配置虚拟机环境
①下载VMware
②VMware 安装
③配置Linux虚拟网络环境网络
1.配置时发现centos,什么是centos,centos与Linux的关系
2.配置Linux虚拟环境
一.VMware英文变中文界面方法
二.centos8 的安装(桥接模式)
三.检查ping www.baidu.com是否通路,发现有问题解决办法及反思
4.搭建lamp环境
①了解搭建环境几种方式
②lamp的搭建
1.安装apache
2.安装php
3.安装/MariaDB
一. LAMP是什么
Linux,操作系统
Apache(读:阿帕奇),网页服务器
MariaDB或MySQL,数据库管理系统或数据库服务器
PHP、Perl或Python,脚本语言
其中常用的是Linux,Apache,,MySQL/MariaDB,PHP可以理解为运行动态网站或服务器的“组合包”。
二.LAMP是怎么协同工作的,为什么需要的是这四个组合
手图如下: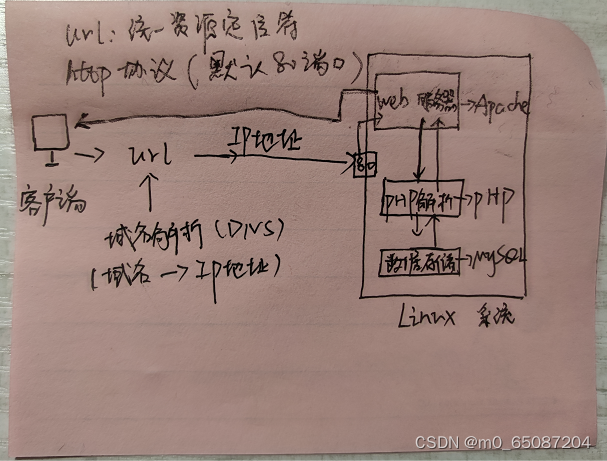
1.用户通过统一资源定位符(即网址)向服务器发出请求
2.使用http协议以及dns域名解析所得到ip地址,向所对应的web服务器发出请求。
3.web服务器只能回应html格式,无法得出更“绚丽”的结果(Apache)
4.需要脚本语言解析器进行解析,返回“动态”想要的结果(PHP),再返回给Apache
5.做到动态网页,加快响应,随取随用,需数据库服务器存储数据(MySQL//MariaDB),返回给PHP
(工作原理像递归,层层调用)
三.配置虚拟机
1.下载VMware
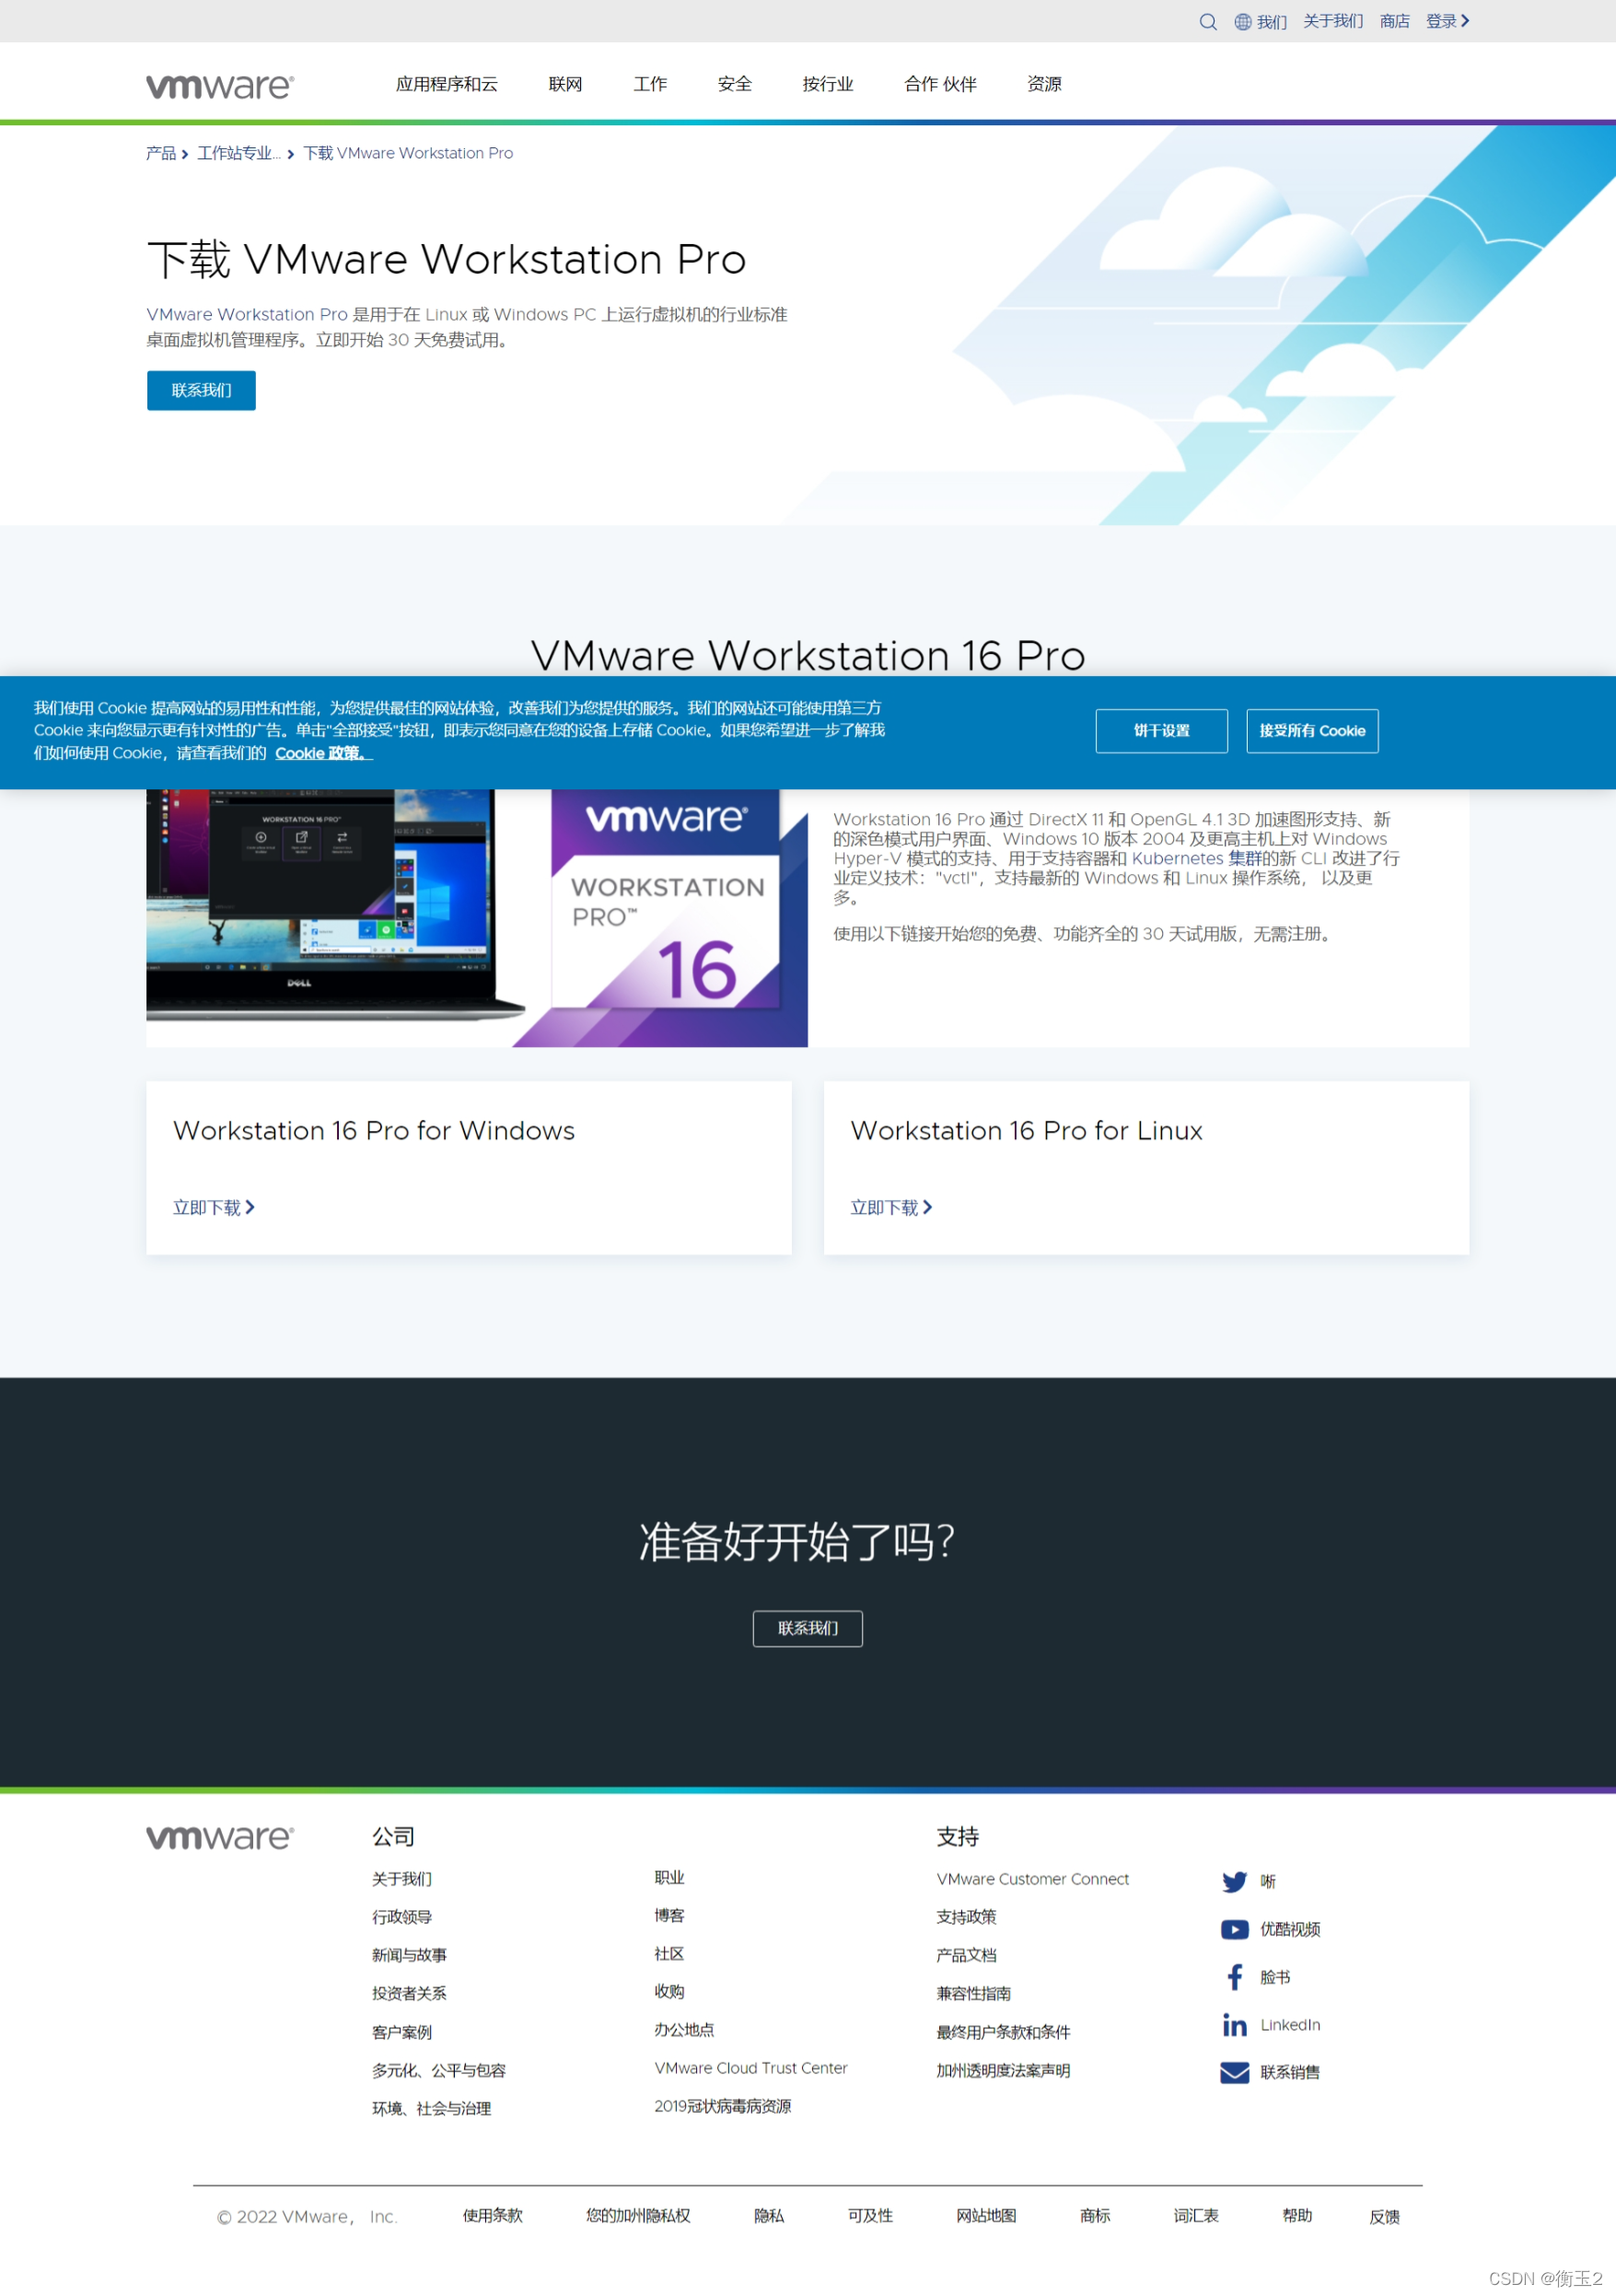
进入官网的 VMware下载页面,下滑页面点击 试用 VMware Workstation 16 Pro,跳转至下载页,根据操作系统选择合适的产品,在这里以 Windows10 系统为例,选择 Workstation 16 Pro for windows,开始下载安装文件,示意图如下:

2.VMware 安装
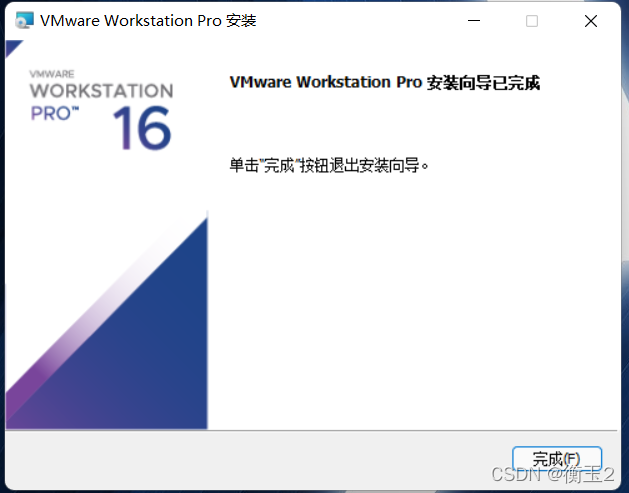
①打开下载好的 .exe 文件, 即可开始安装。
②一直点击 下一步 等待软件安装完成。
③输入密钥(可度娘),完成安装

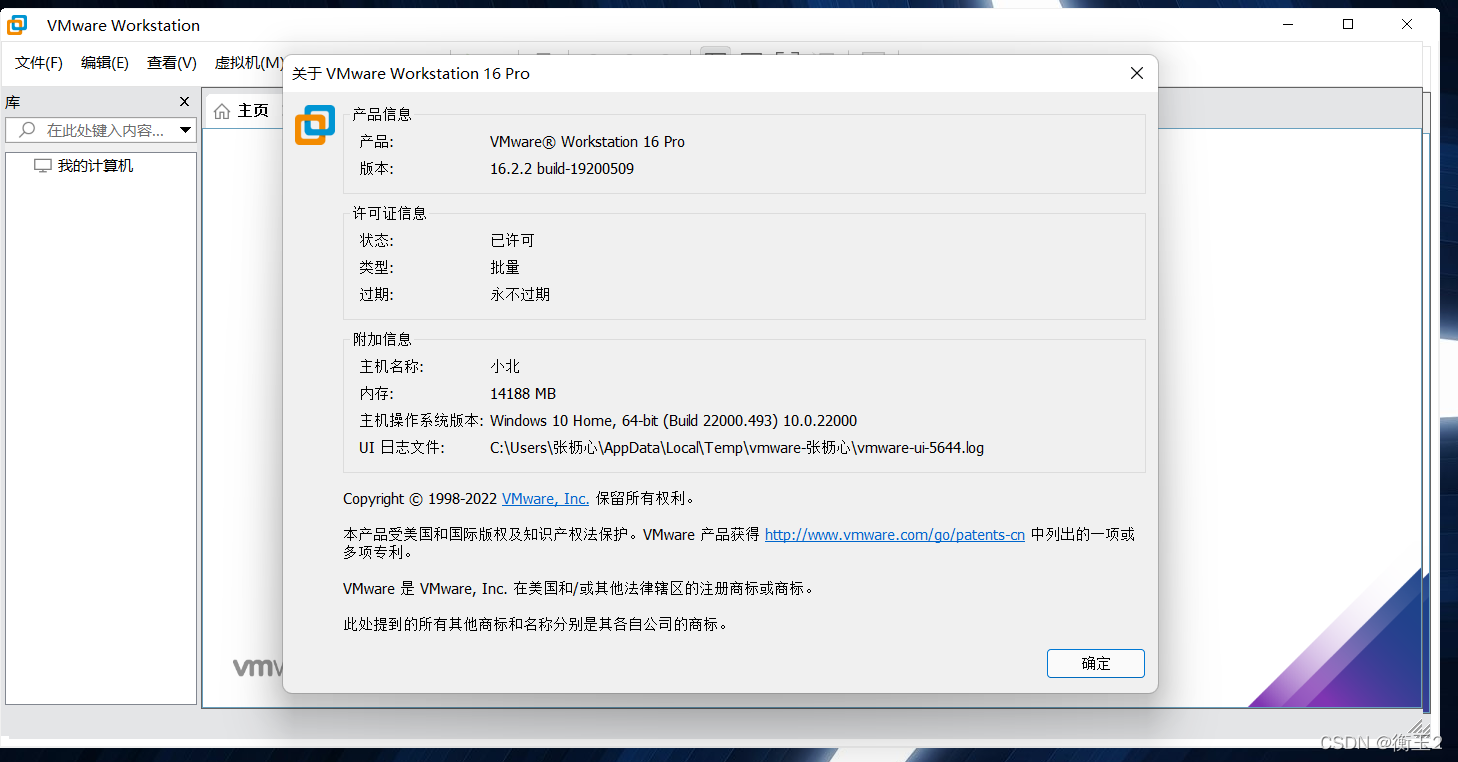
④安装后可能要求重启系统,重启后进入软件。依次点击导航栏中的 帮助 -> 关于 VMware Workstation ,查看许可证信息的状态,如下图所示即为激活成功。
3.配置Linux虚拟网络环境网络
1.配置时发现centos,什么是centos,centos与Linux的关系,得到如下解释:
CentOS是Linux众多得发行版本之一,linux有三大发行版本(Slackware、debian、redhat),而Redhat有收费的商业版和免费的开源版,商业版的业内称之为RHEL系列,CentOS是来自于依照开放源代码规定而公布的源代码重新编译而成。可以用CentOS替代商业版的RHEL使用。两者的不同,CentOS不包含封闭源代码软件,是免费的。
2.配置Linux虚拟网络
本次配置采用:
VMware Workstation 16 Pro
CentOS 8 下载映像文件地址:百度网盘
版本:CentOS Linux release 8.1.1911 (Core)
查看版本号:
cat /etc/redhat-release终端界面:
![]()
开始配置:
1.打开VMware发现界面为英文版,采取以下几个措施
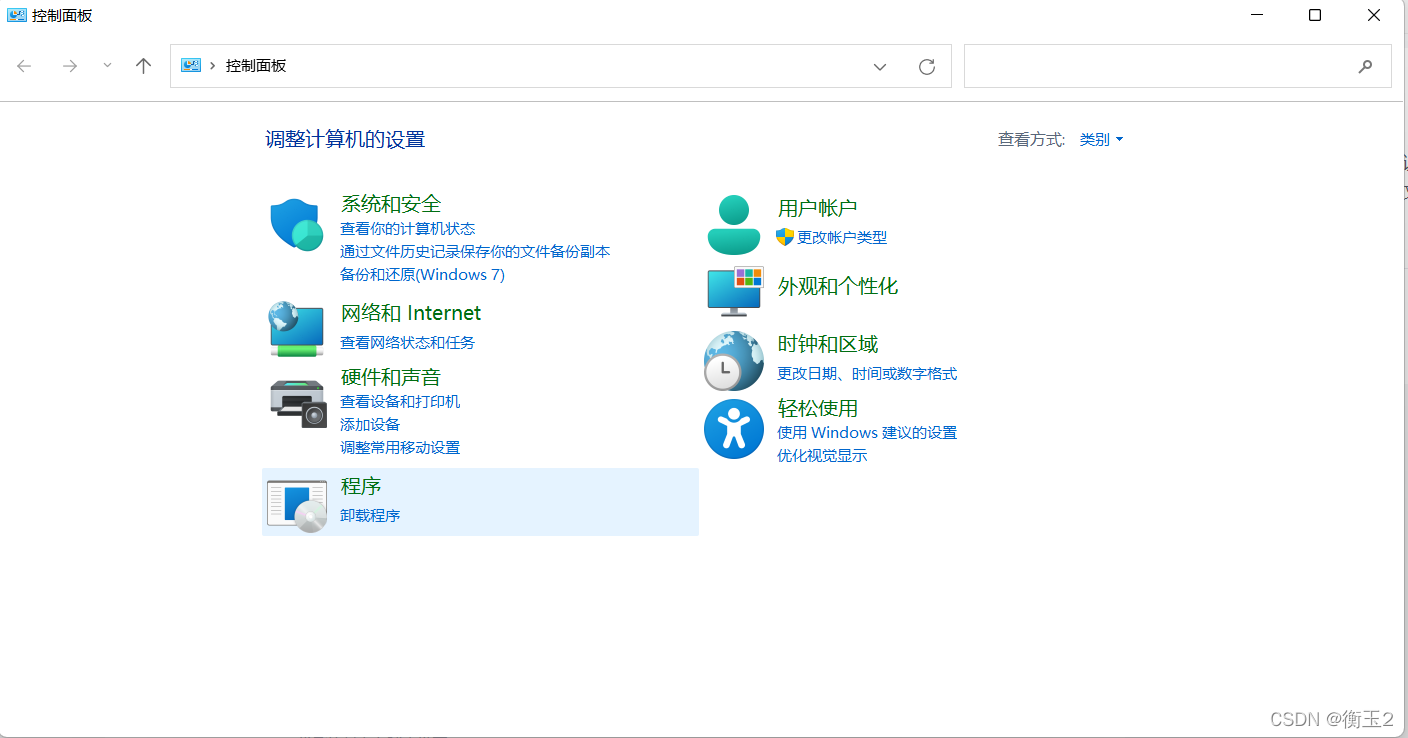
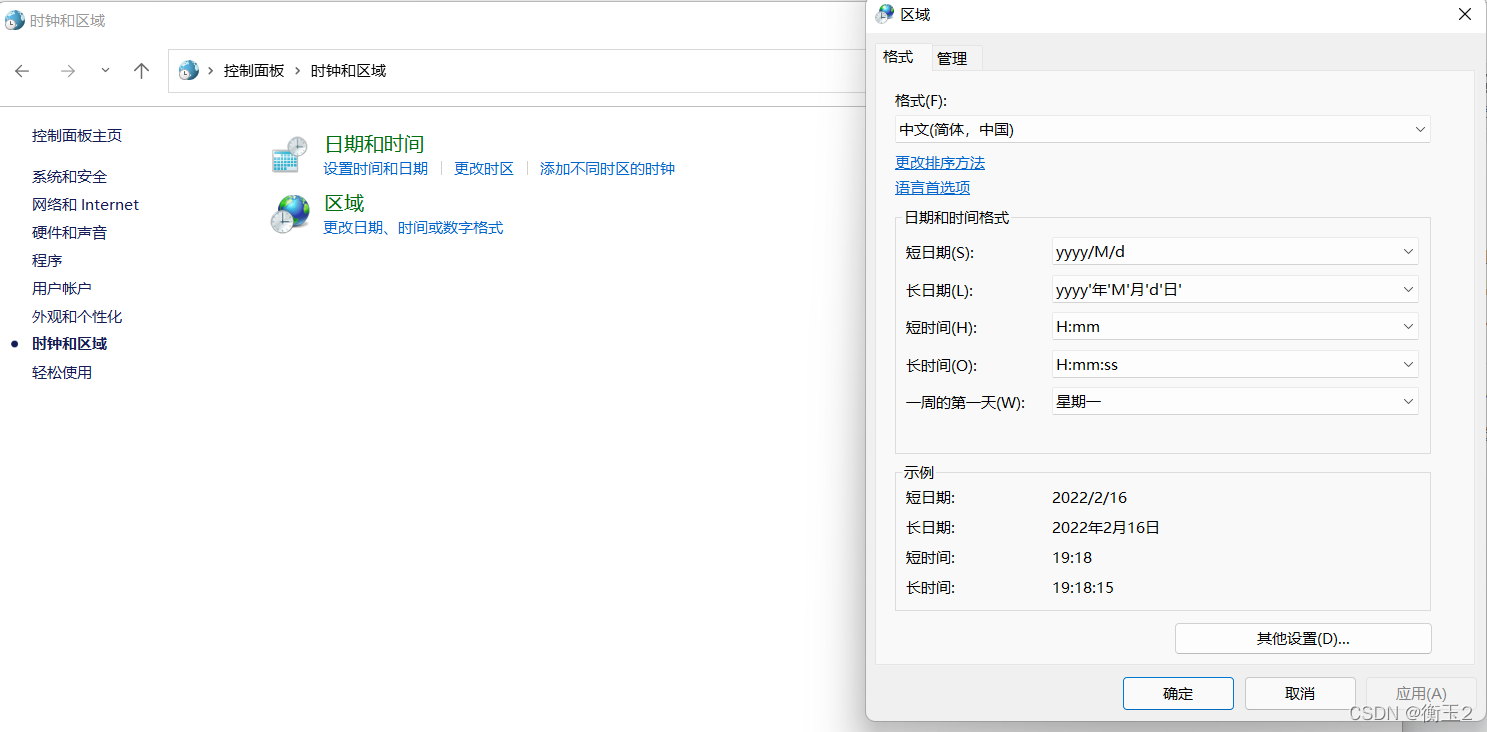
一.控制面板>时钟与区域>中文(简体,中文)----------无效
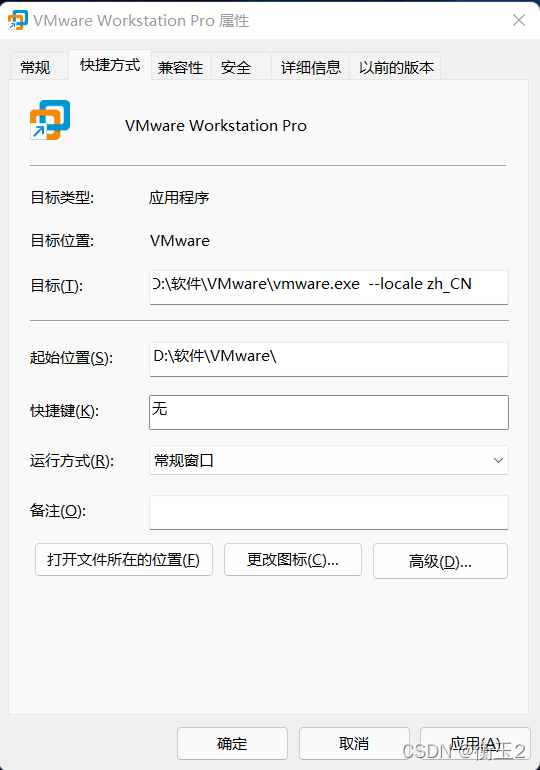
二. VMware Workstation 16 Pro图标右键>属性>快捷方式>目标>后面添加[空格]--locale zh_CN>确认,如下图所示:--------无效
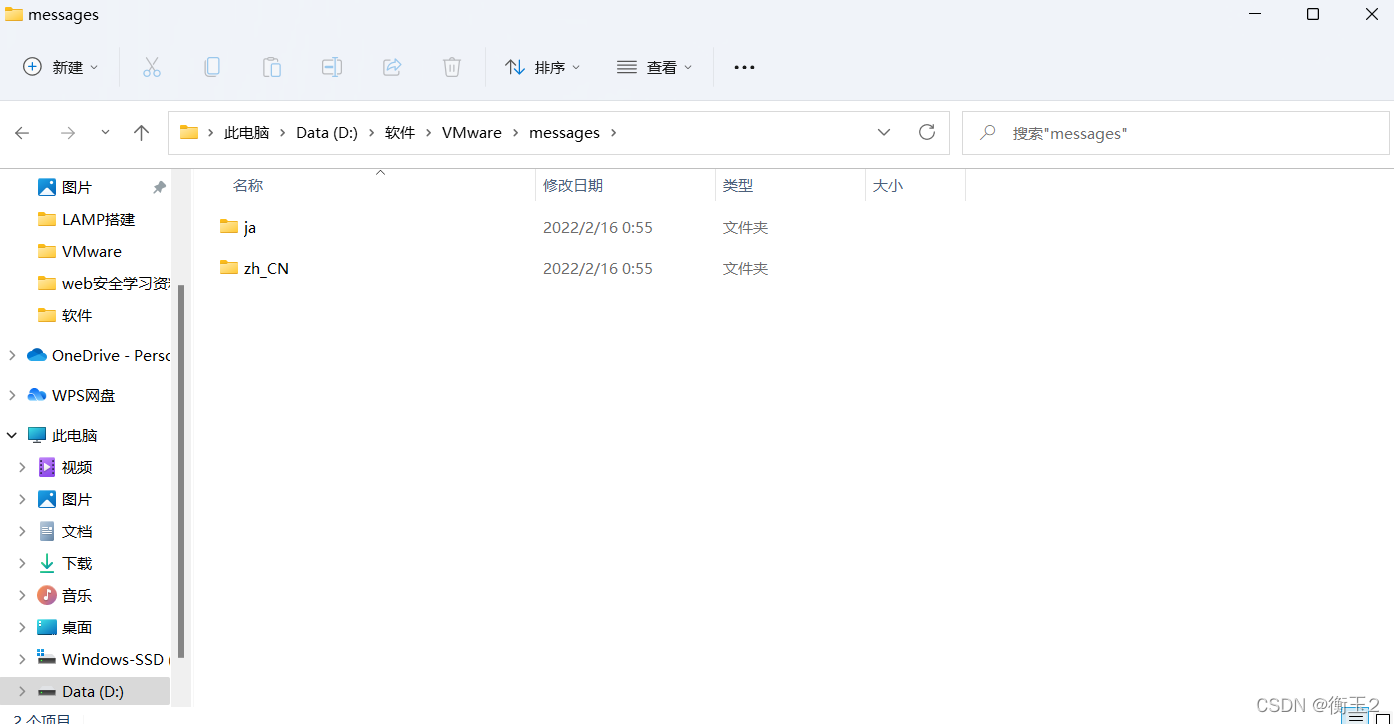
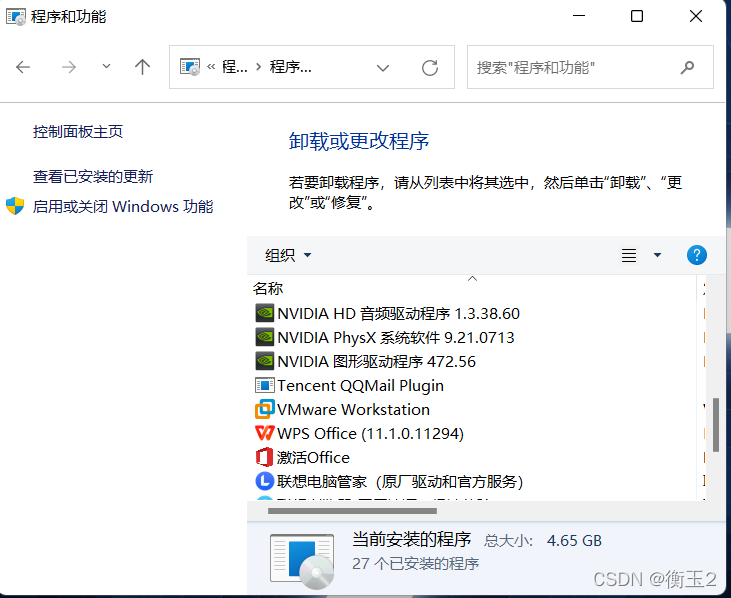
三.查询了messages下的设置没发现问题,依然有zh_CN后,控制面板>卸载程序>VMware>更改>无脑安装>打开VMware界面变成中文-----成功
小结:由于VMware16调整了路径后界面变成英文,可尝试以上操作。
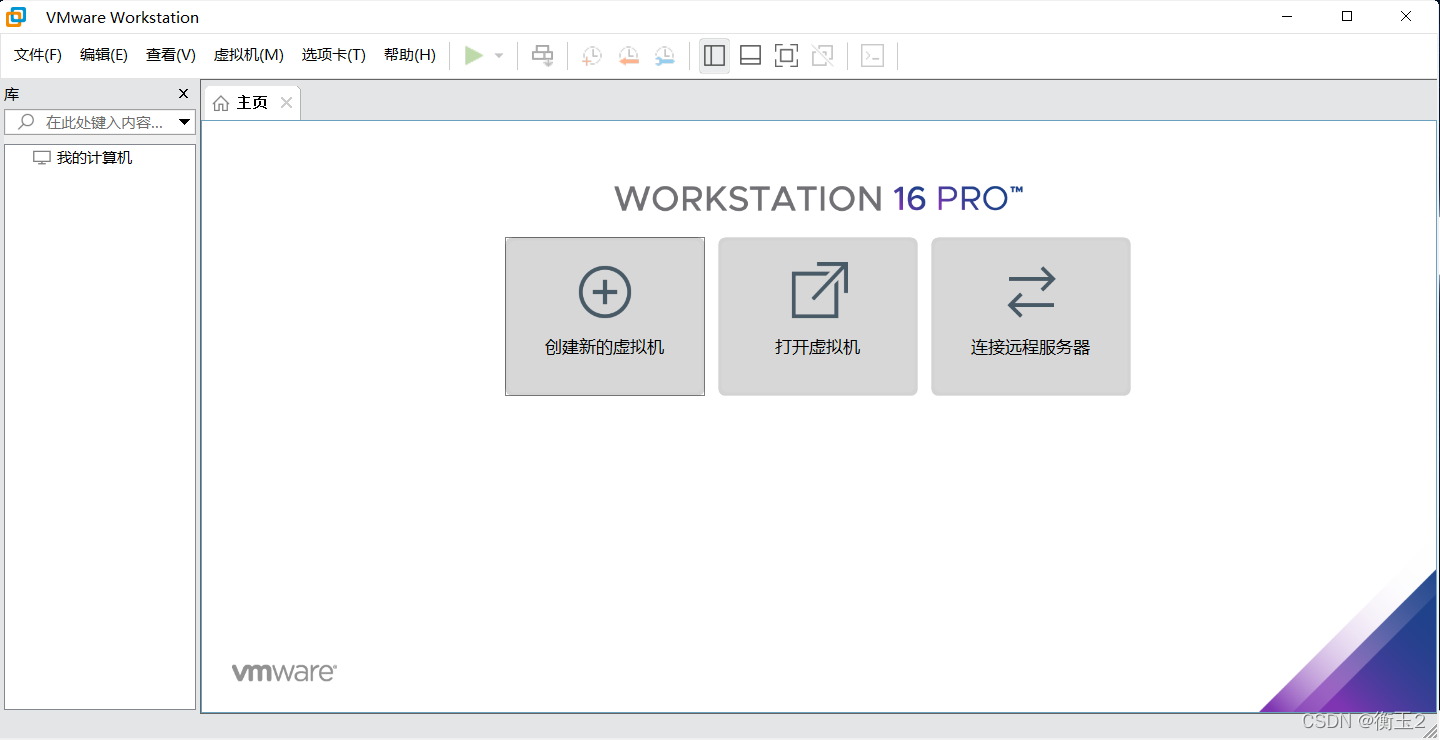
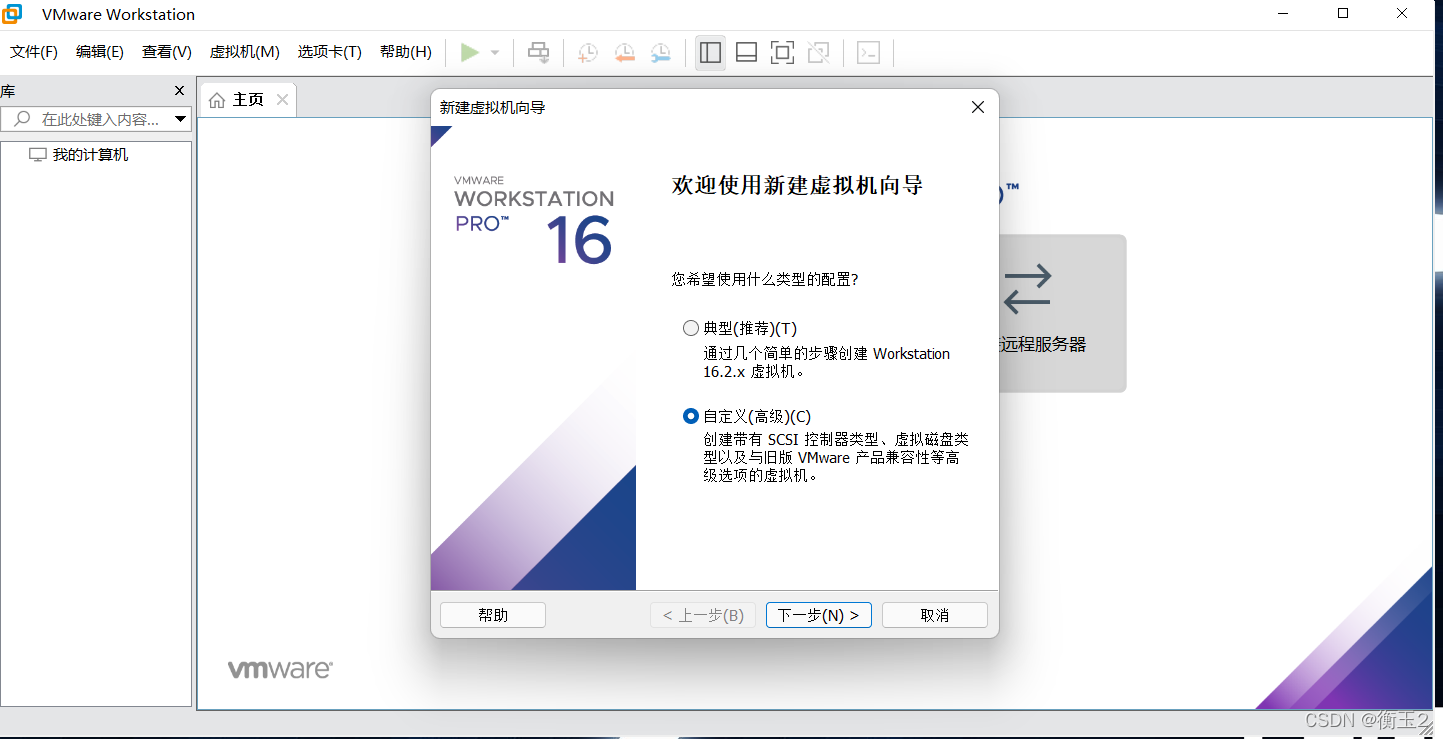
2. 创建新的虚拟机>
自定义高级>下一步
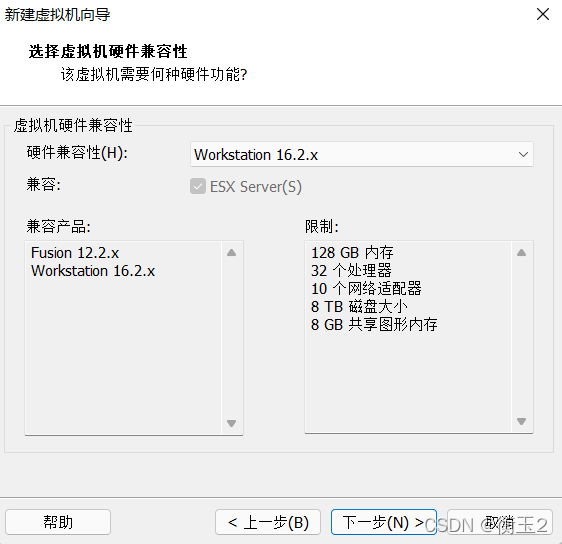
默认workstation16.2.X>
稍后安装操作系统>下一步

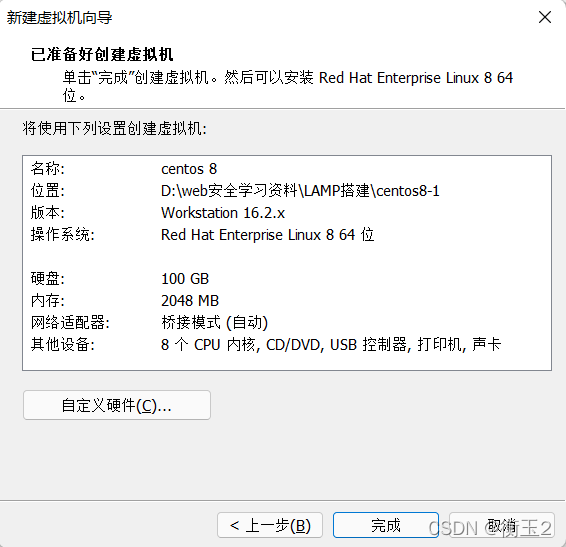
选择Linux>Red Hat Enterprise Linux 8 64位>下一步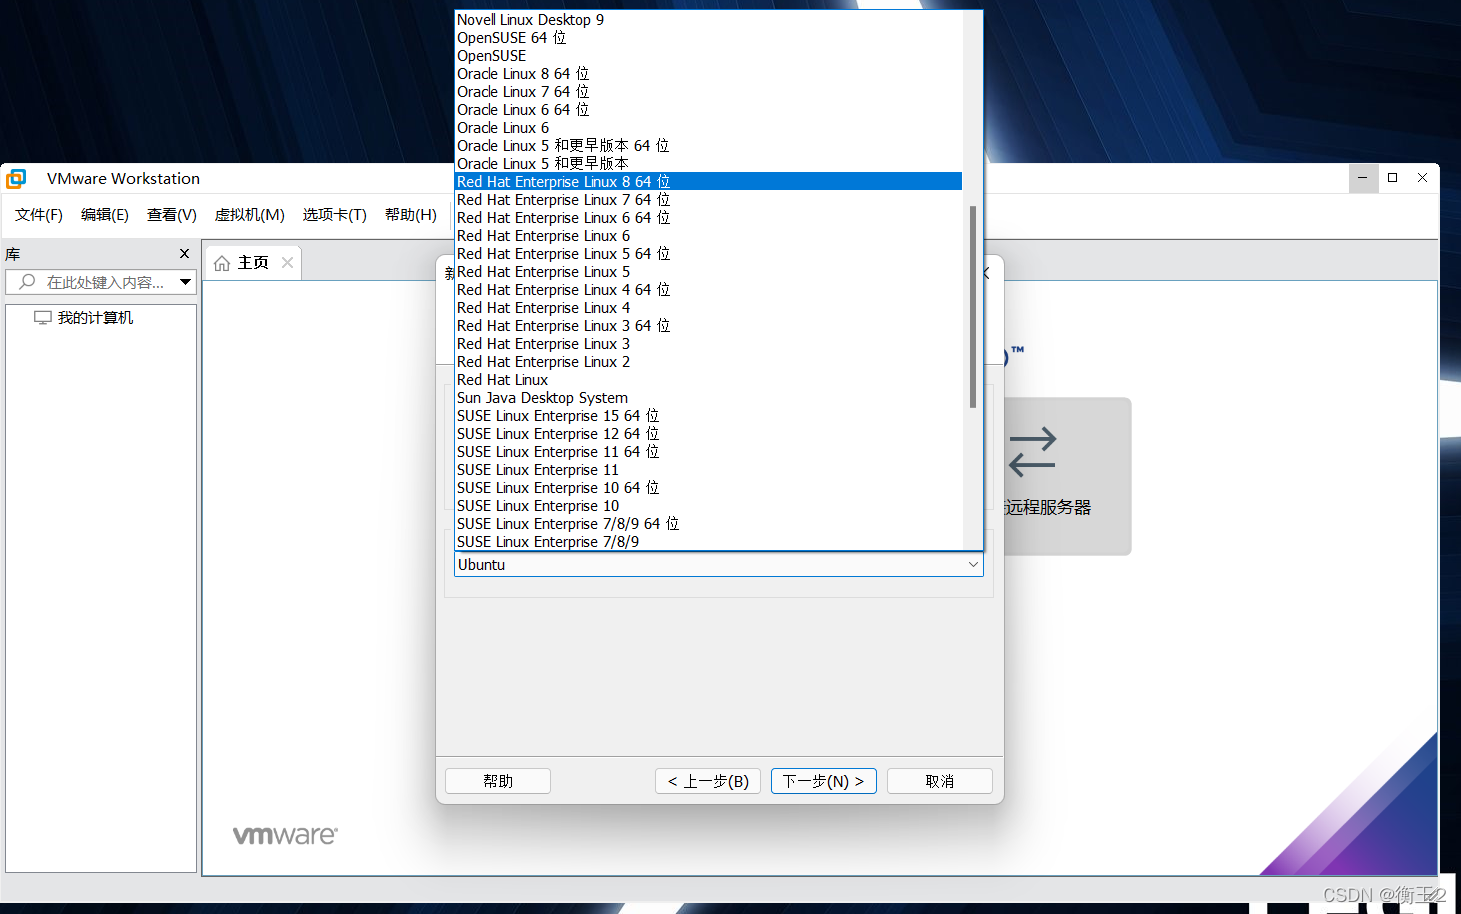
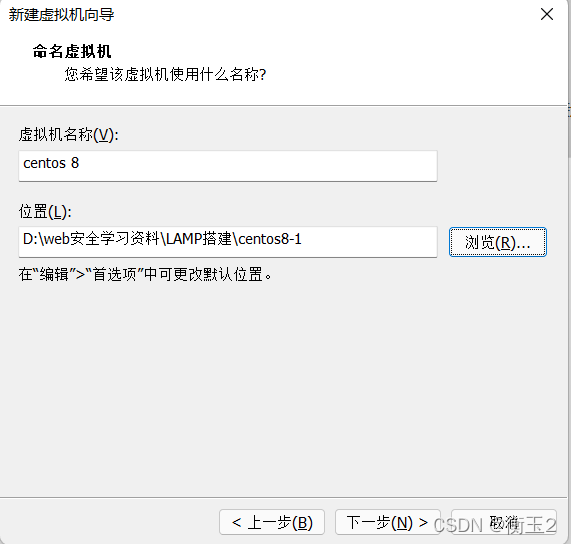
虚拟机名字自己取>位置放在D盘以免C盘速度变慢>下一步
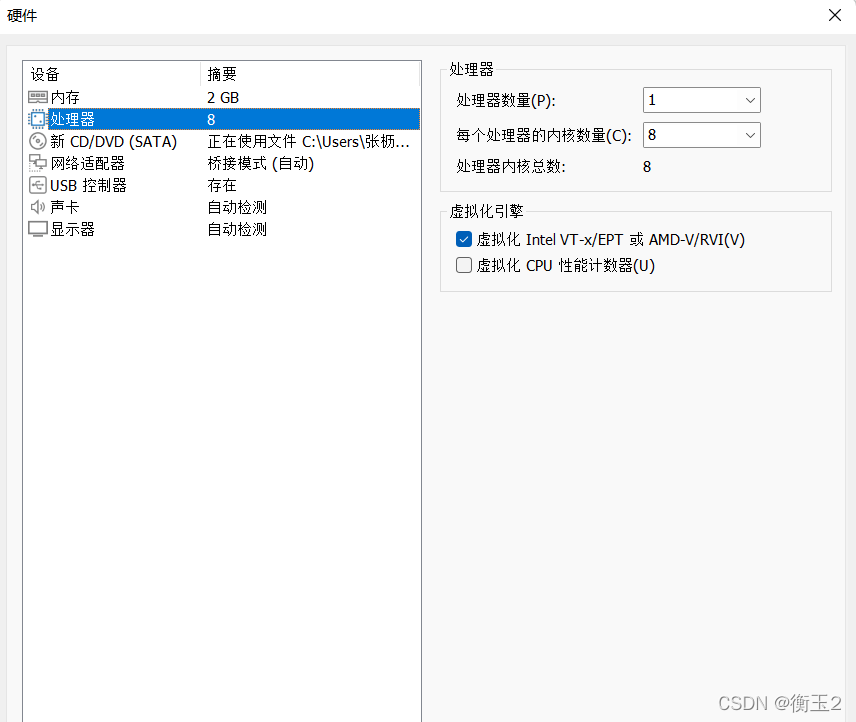
处理器数量:笔记本填1即可>
每个处理器的内核数量:笔记本为8核,填写8即可>下一步

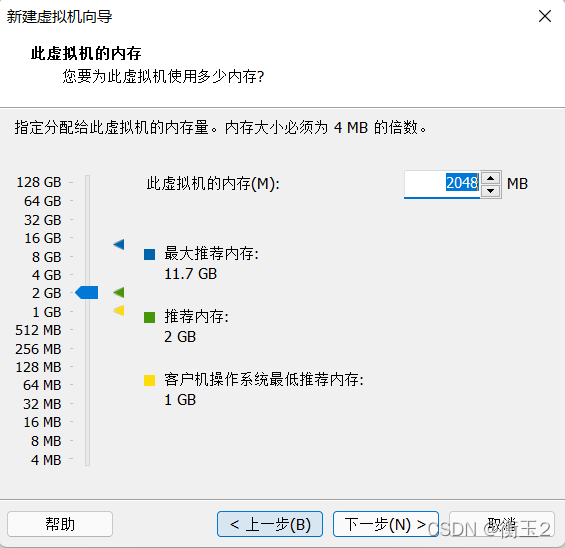
装图形界面可留2个G>下一步>
绑定端口选择:NAT
家里或者路由器选择:桥接即可>

控制器默认即可>
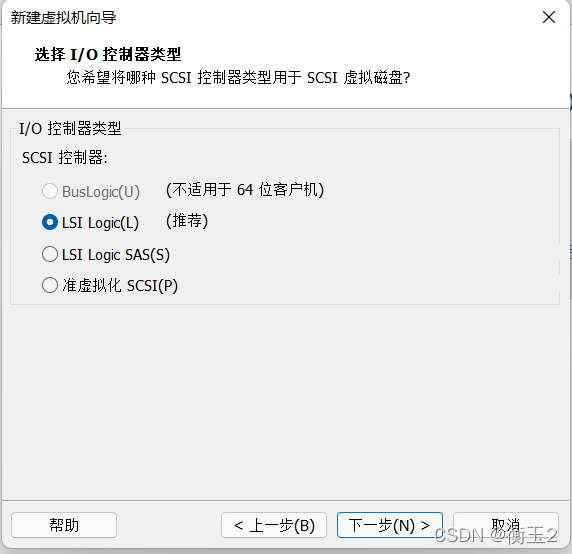
NVMe:是用于存储设备的接口规范,最新存储设备通讯协议,用于定义硬件接口和传输协议。
目前普遍常用:scsi>下一步>
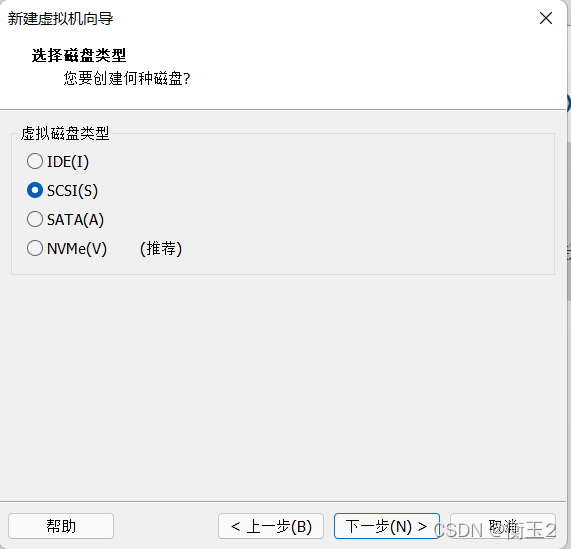
创建新虚拟磁盘>下一步>
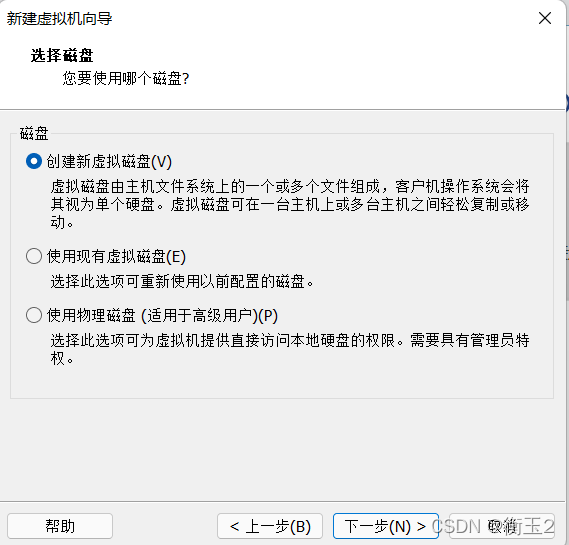
最大磁盘大小:100(不可能同时太多个运行)>将虚拟磁盘存储单个文件>下一步
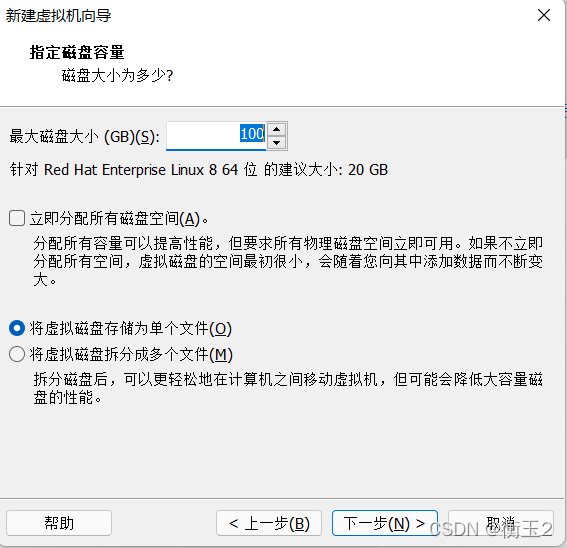
文件名默认>下一步>
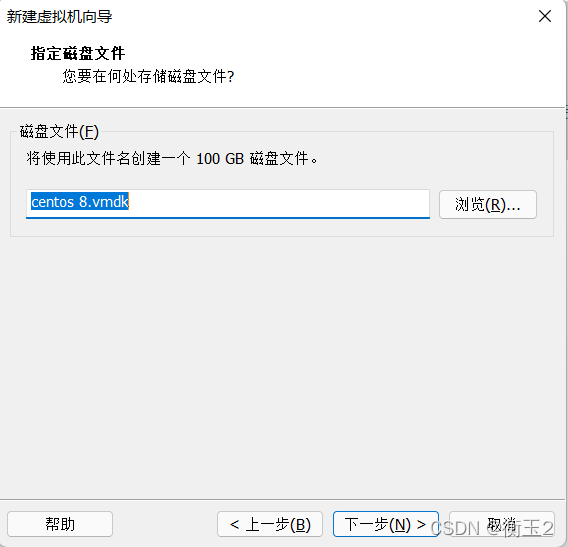
自定义硬件>
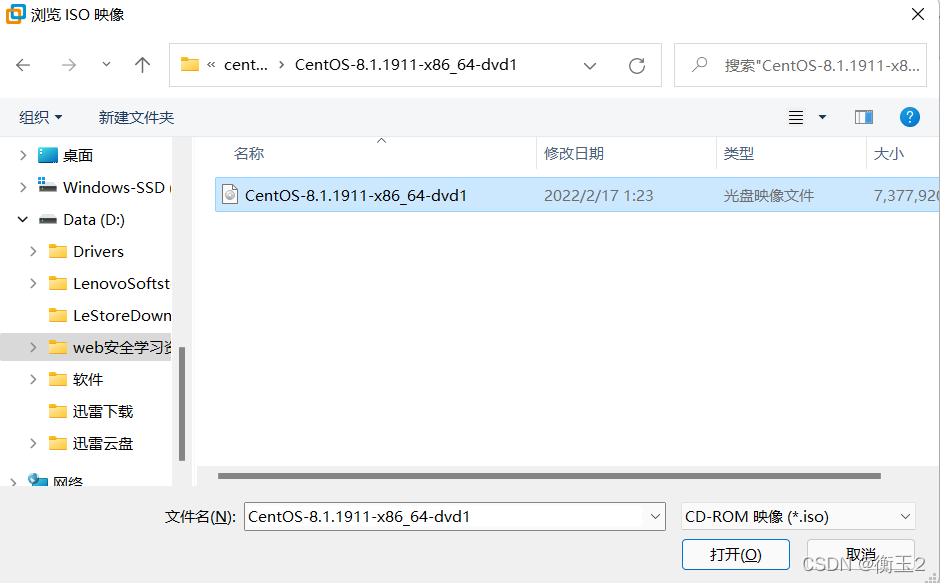
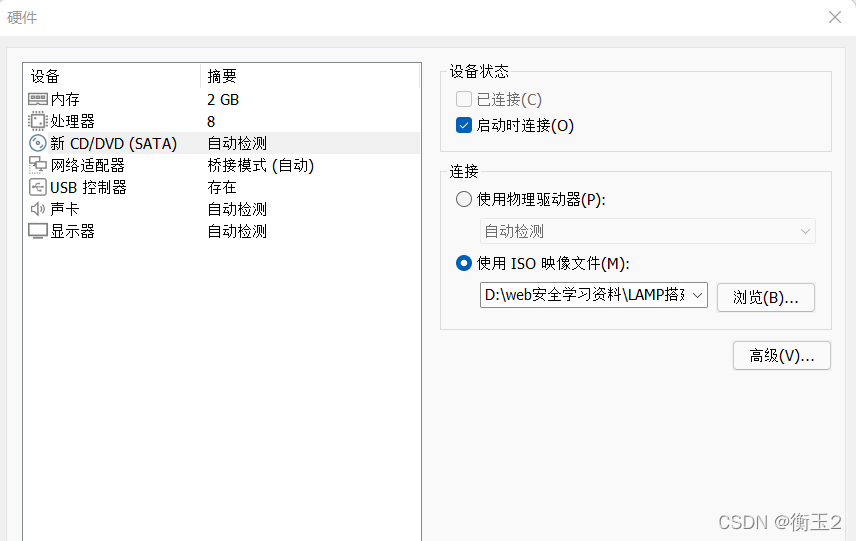
打印机若不使用可移除>新CD/DVD(即光驱)>使用iso映像文件(提前下载好的centos8镜像文件)>
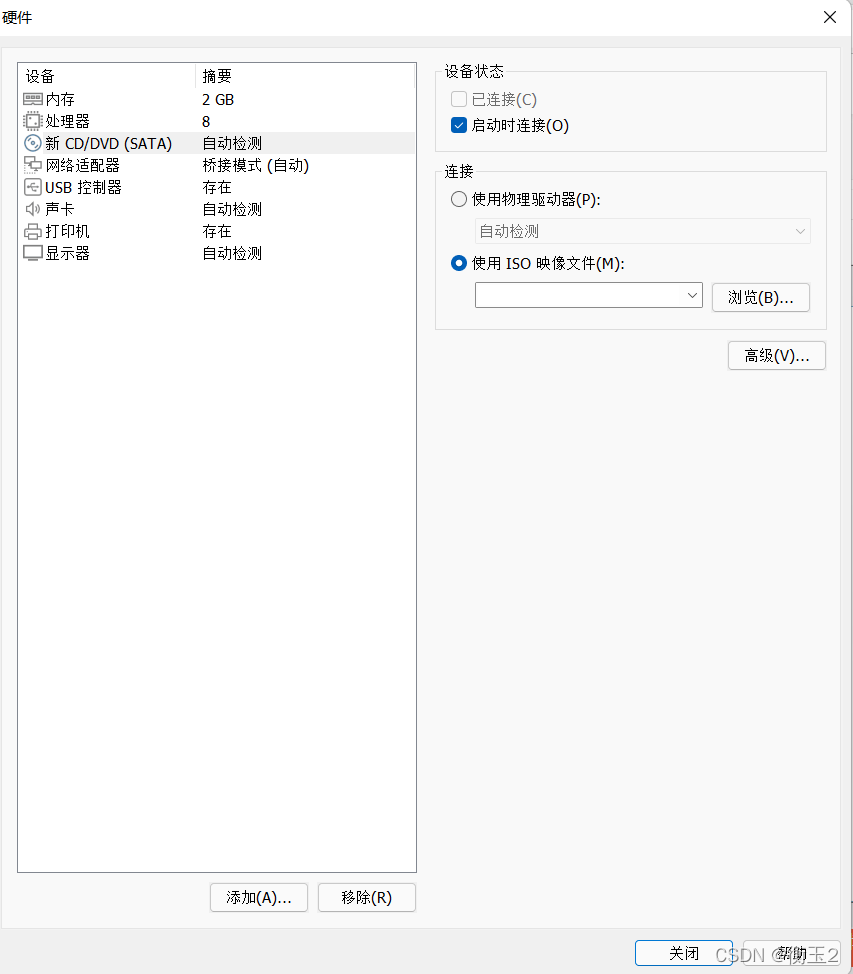
处理器>虚拟器 Intel VT-x/EPT勾选>关闭>
配置完成
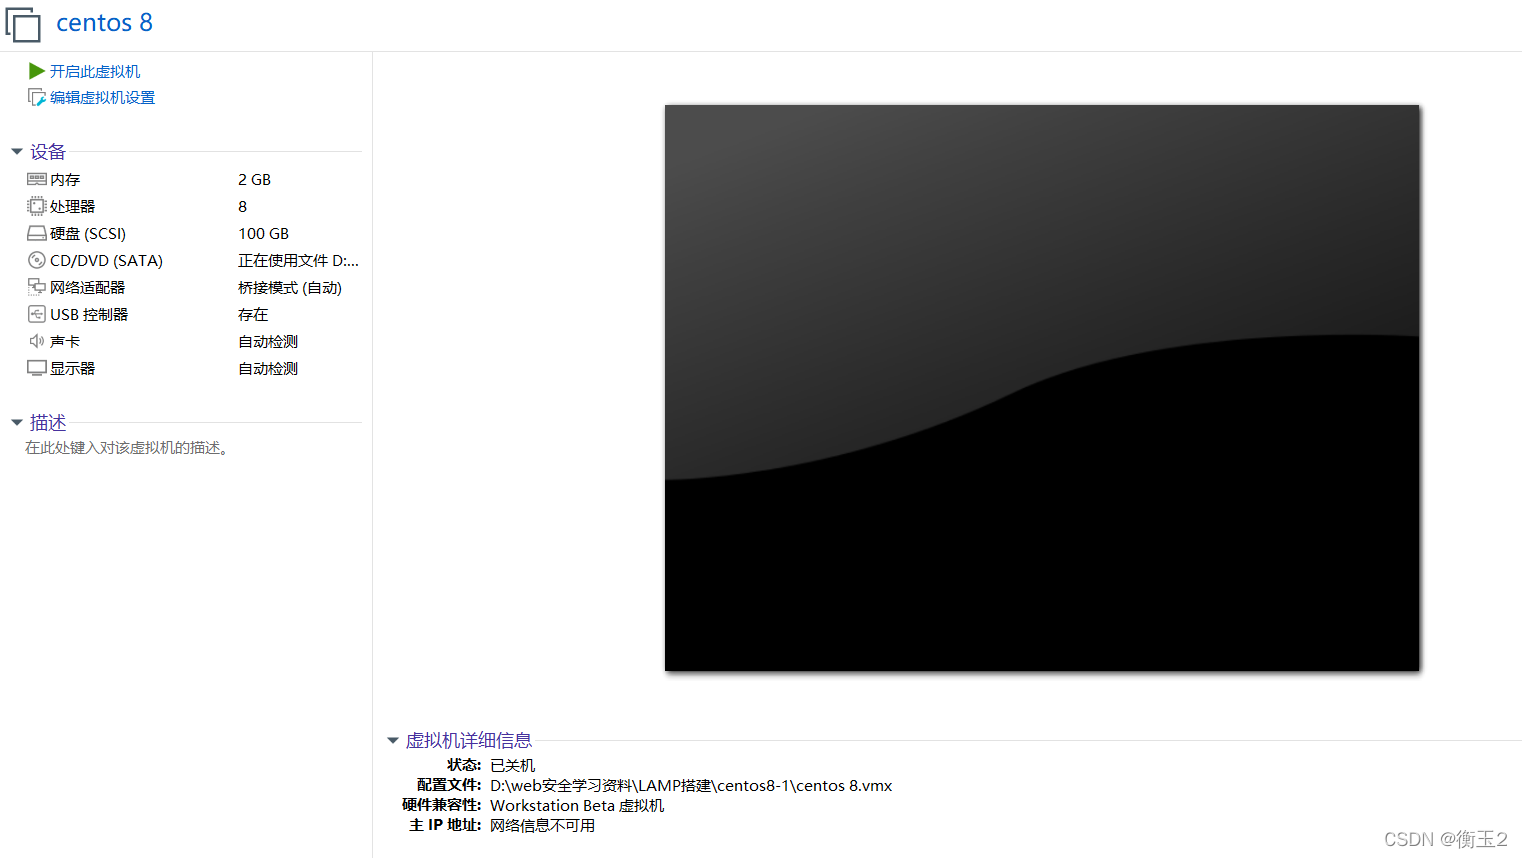
点击开启虚拟机>
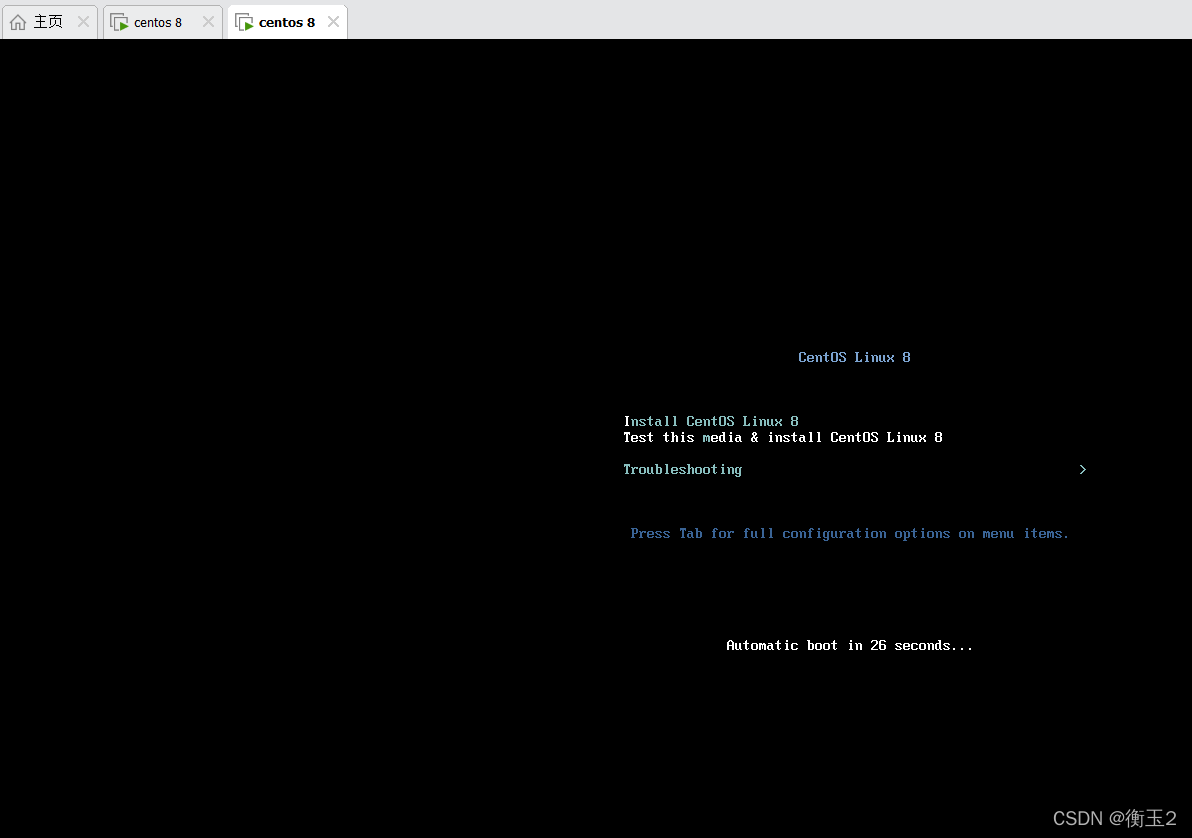
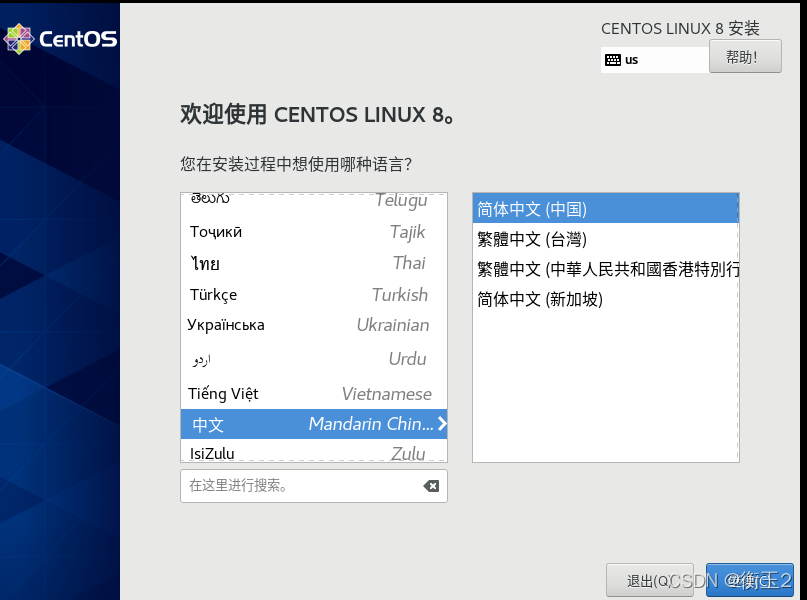
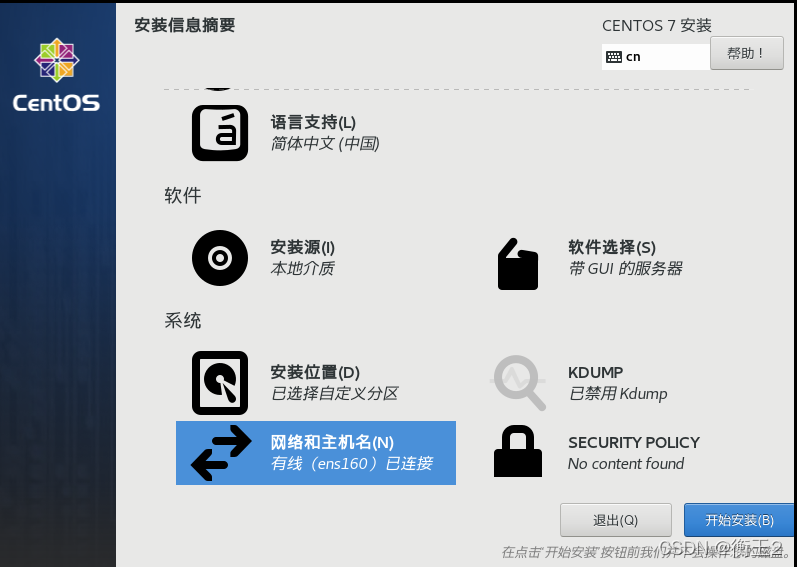
选择 install centos 8>语言支持>简体中文(中国)>继续>
时间和日期>如图亚洲上海>完成>
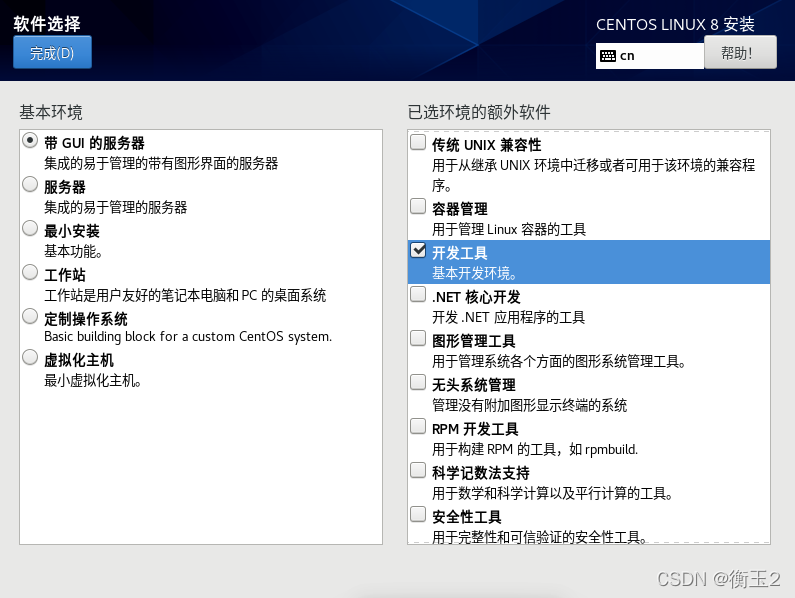
 软件选择>带GUI的服务器>开发工具>完成>
安装目的地>
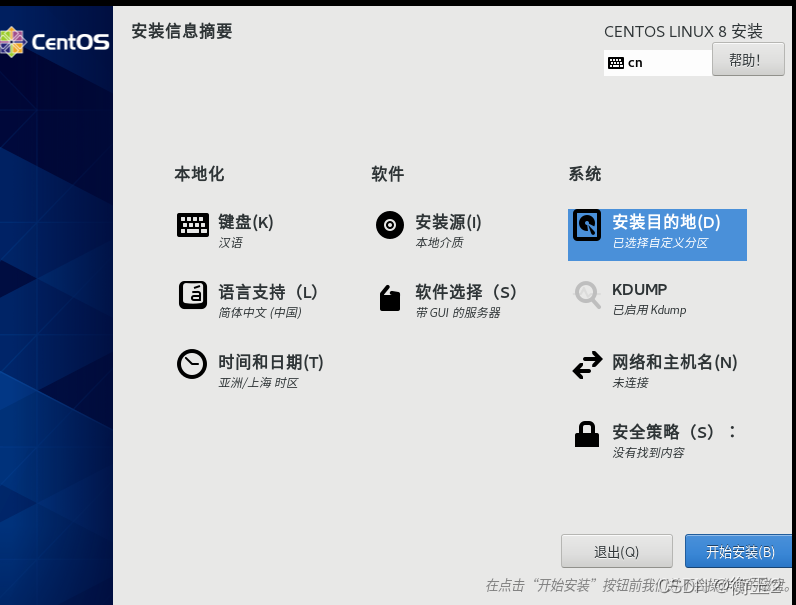
我要配置分区>完成>
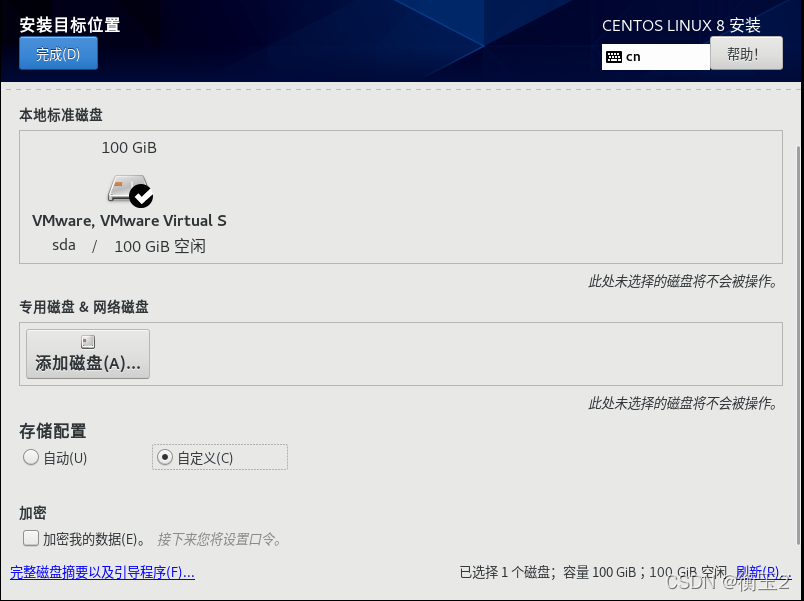
页面跳转手动分区>标准分区>
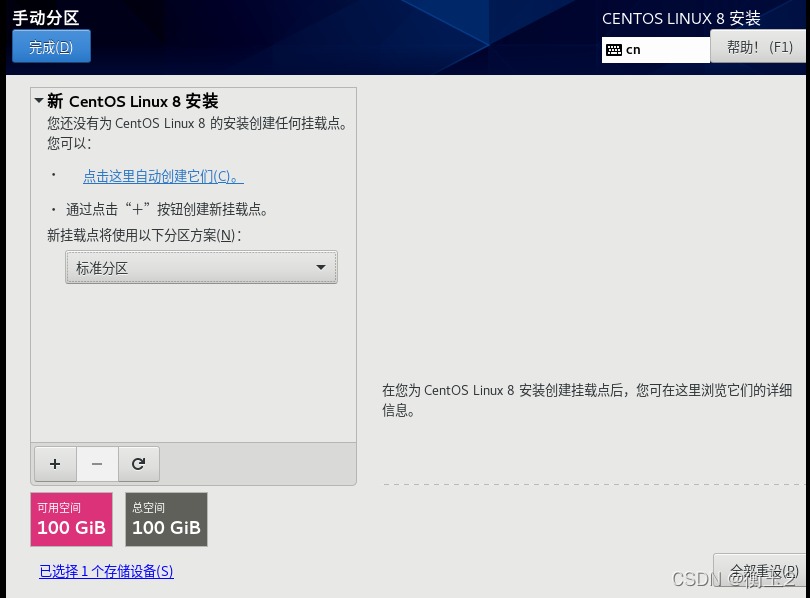
“+”>boot>1G>文件系统xfs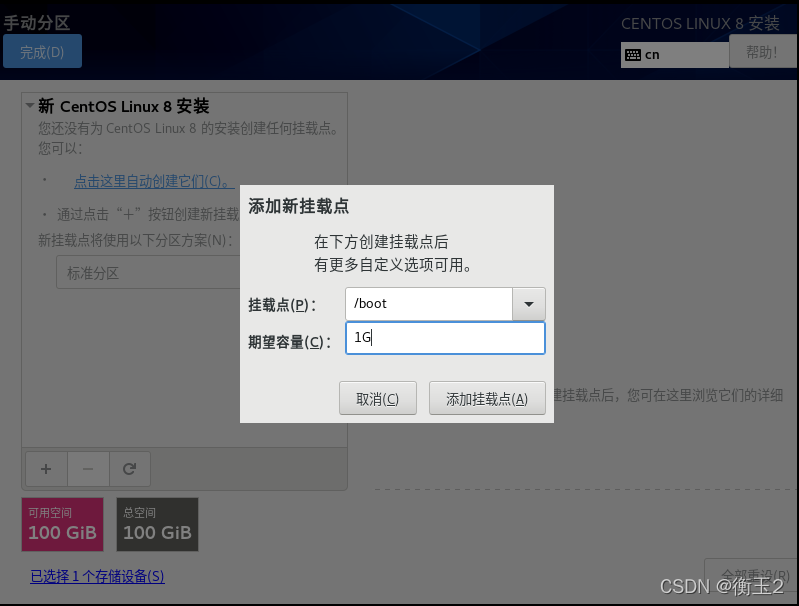
“+”>swap>2G>文件系统swap>

“+”>/>50G>文件系统xfs>完后>
 接受更改>
接受更改>
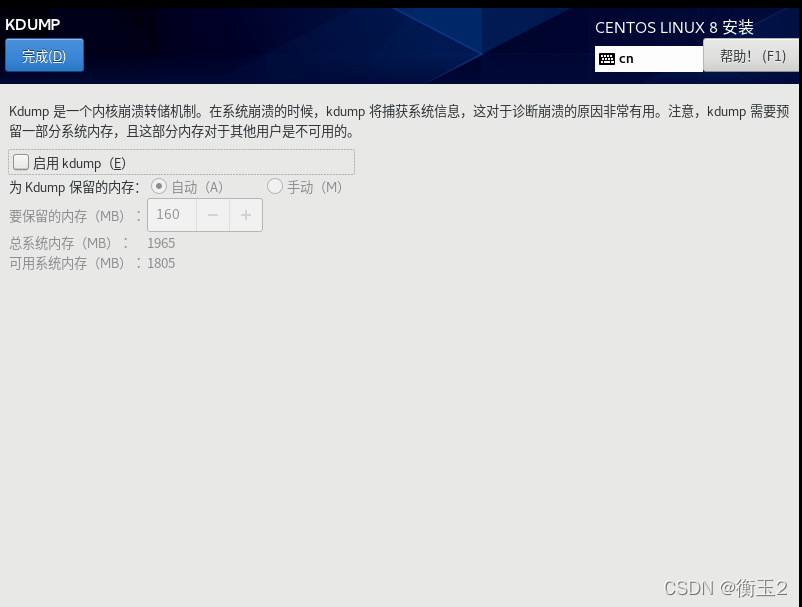
 KDUMP>关闭启用kdump>完成>
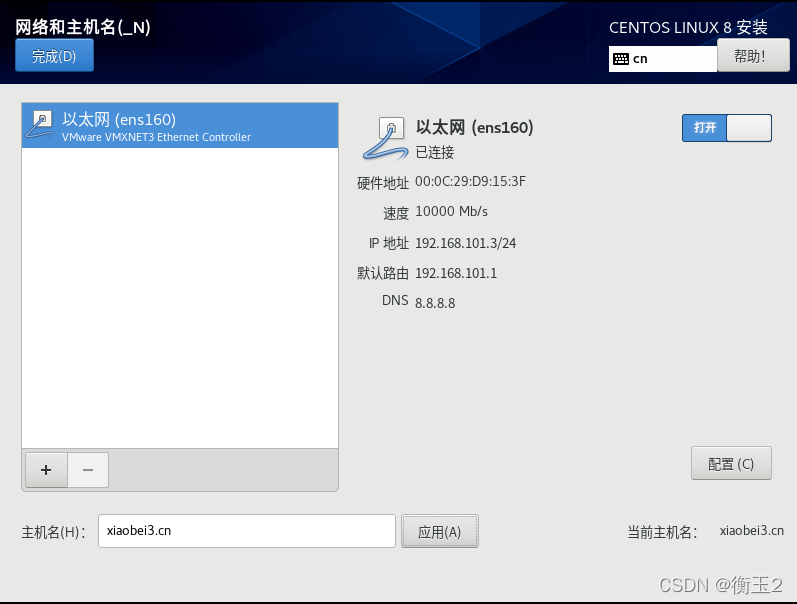
网络与主机名>打开以太网>
 ipv4设置>手动>
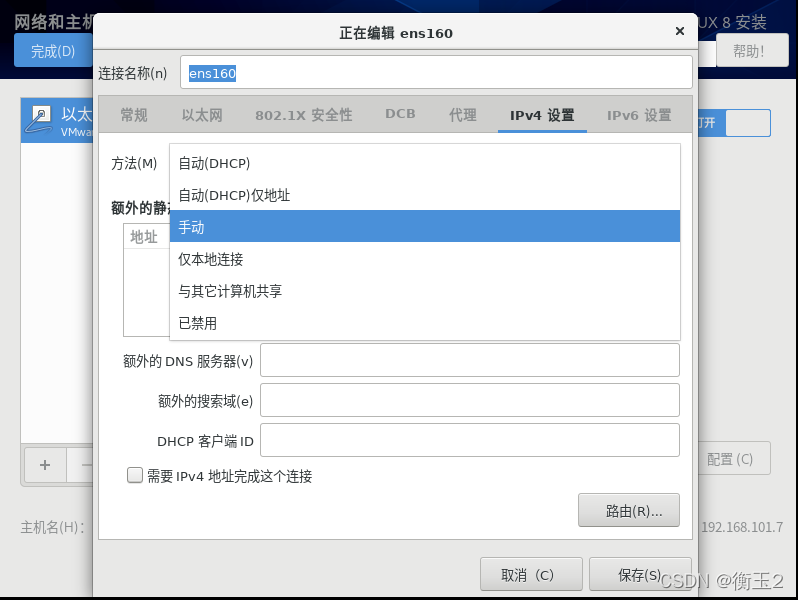
地址与物理机在一个局域网内即可>子网掩码同物理机>网关也可同物理机>

DNS服务器可以设置为8.8.8.8也可同网关相同>保存>

设置主机名(自己设置即可)>应用>完成>
开始安装>
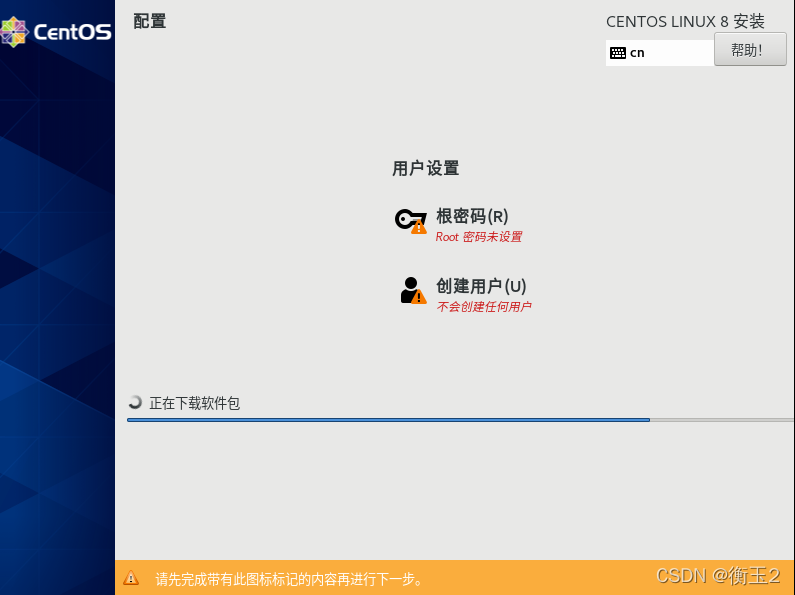
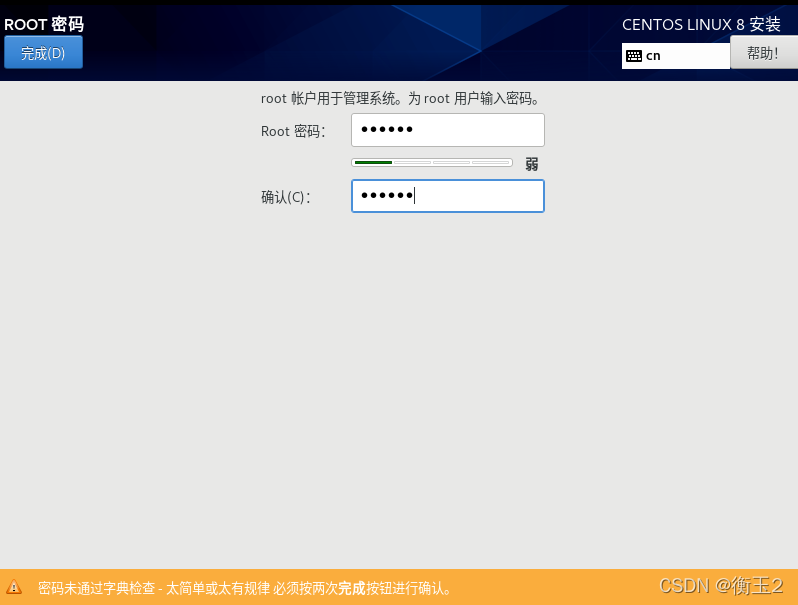
root服务密码设置(自己设置即可)>完成>
等待软件安装完毕>重启>
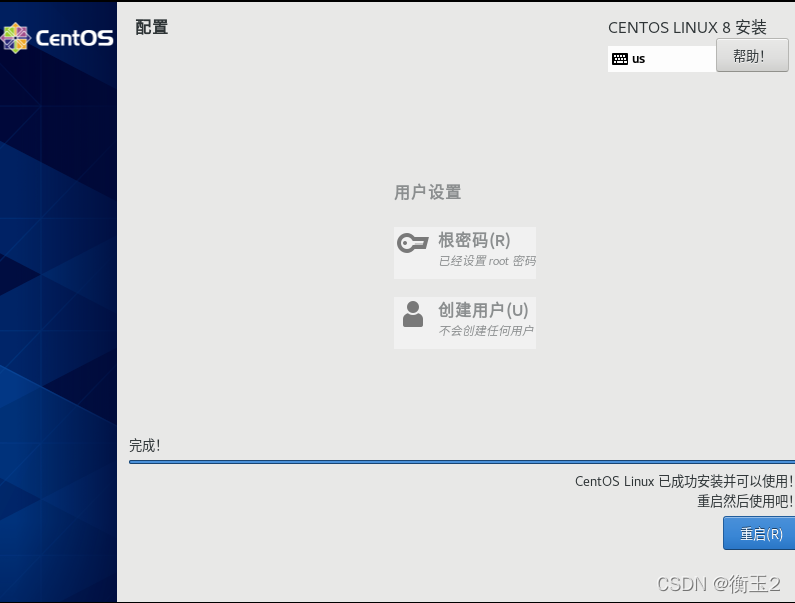
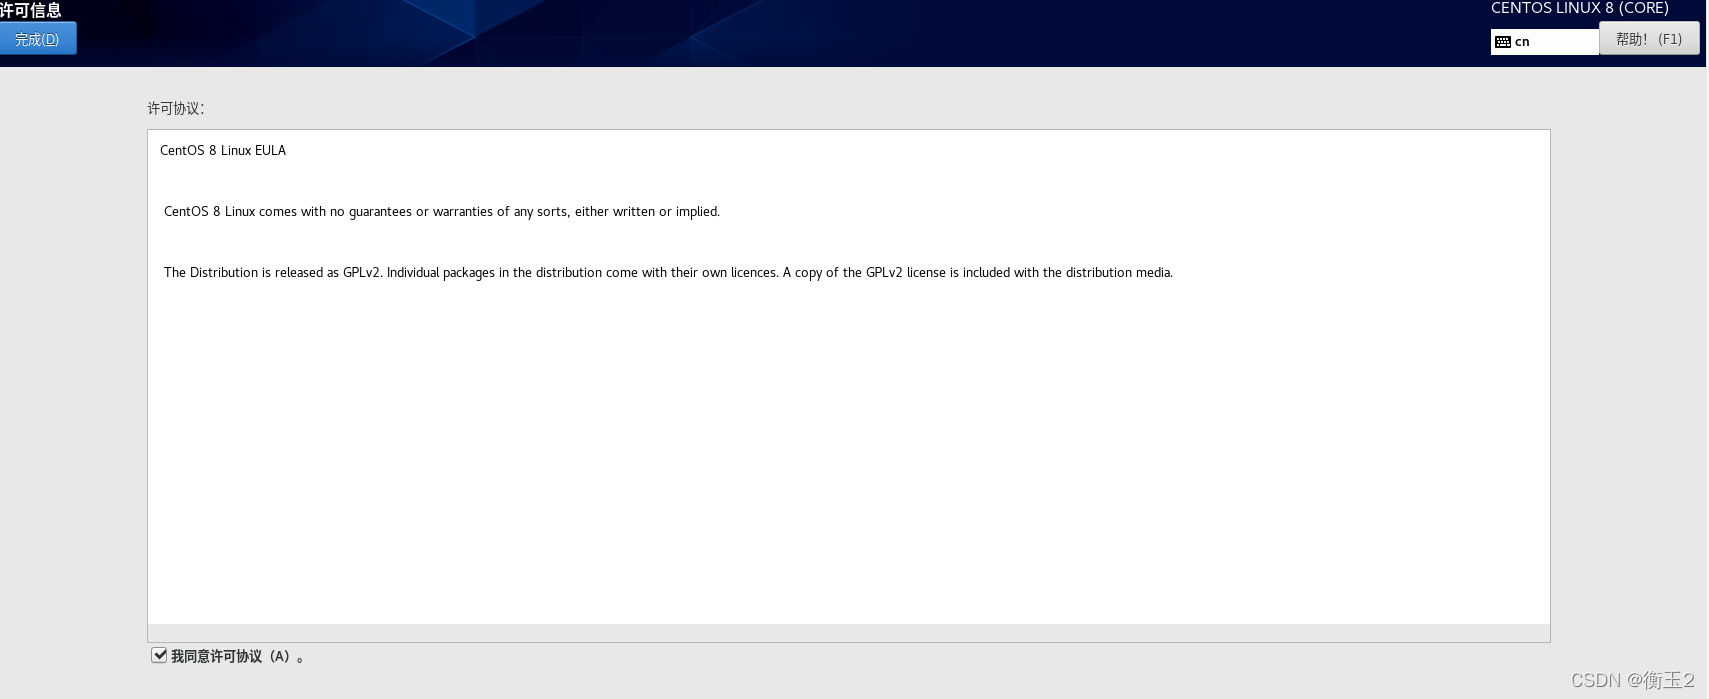
未接收许可证>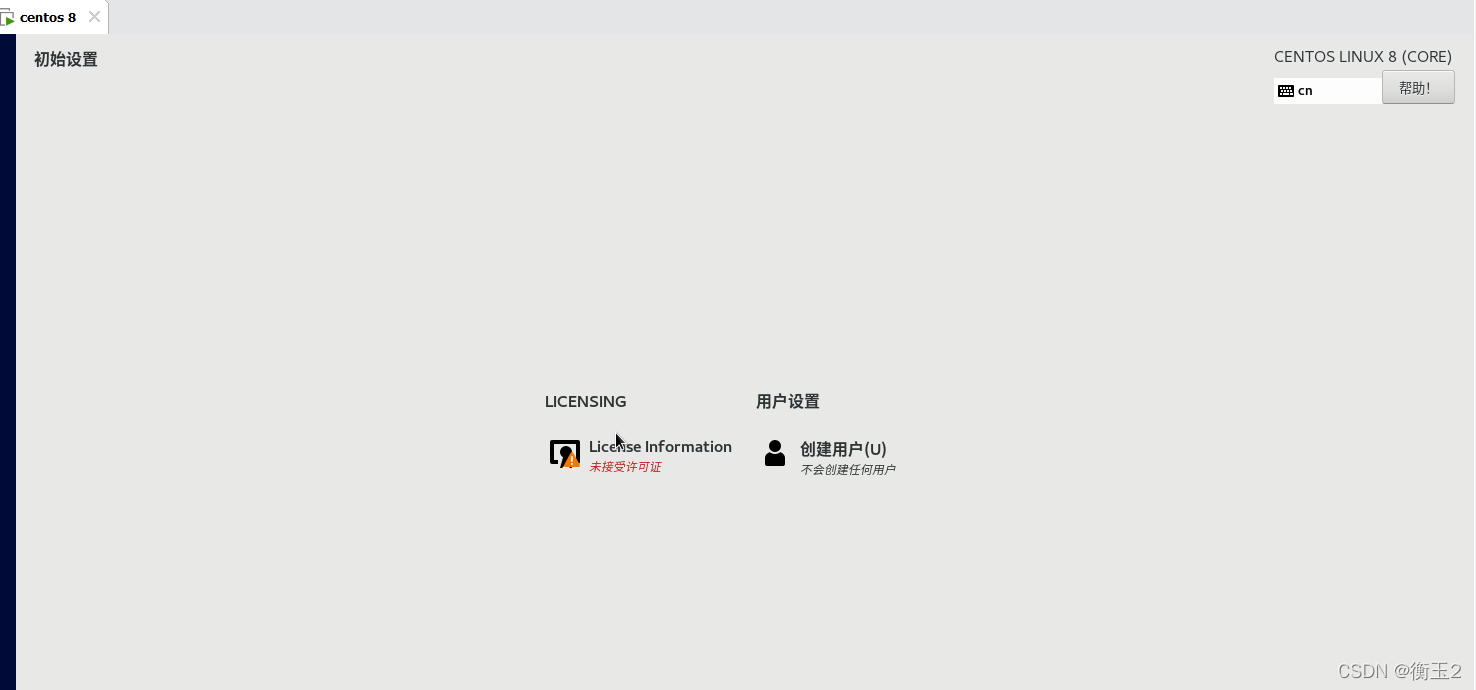
勾选我同意许可证>完成>
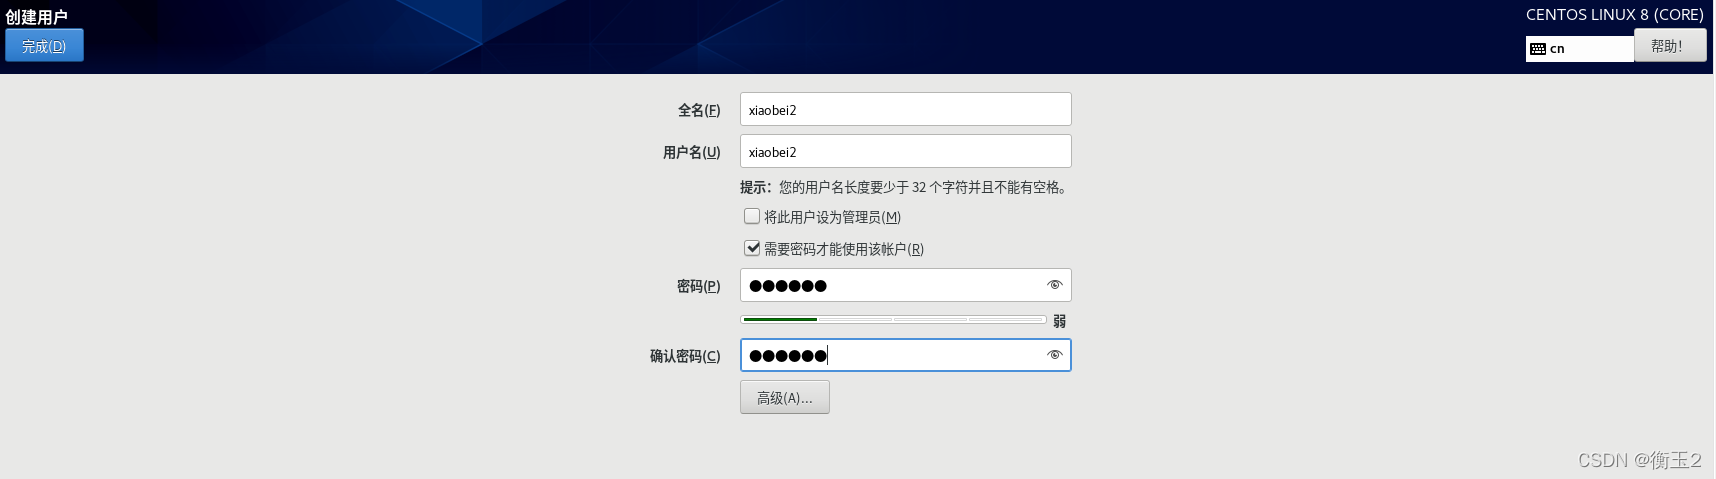
用户设置>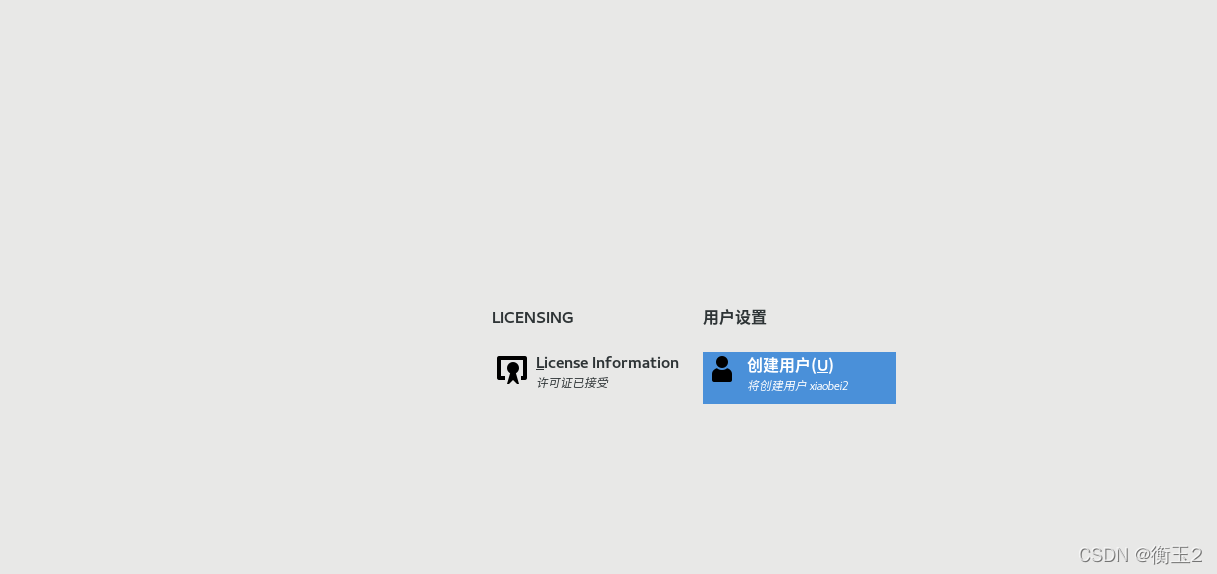
全名和密码自己填写>完成>结束配置>
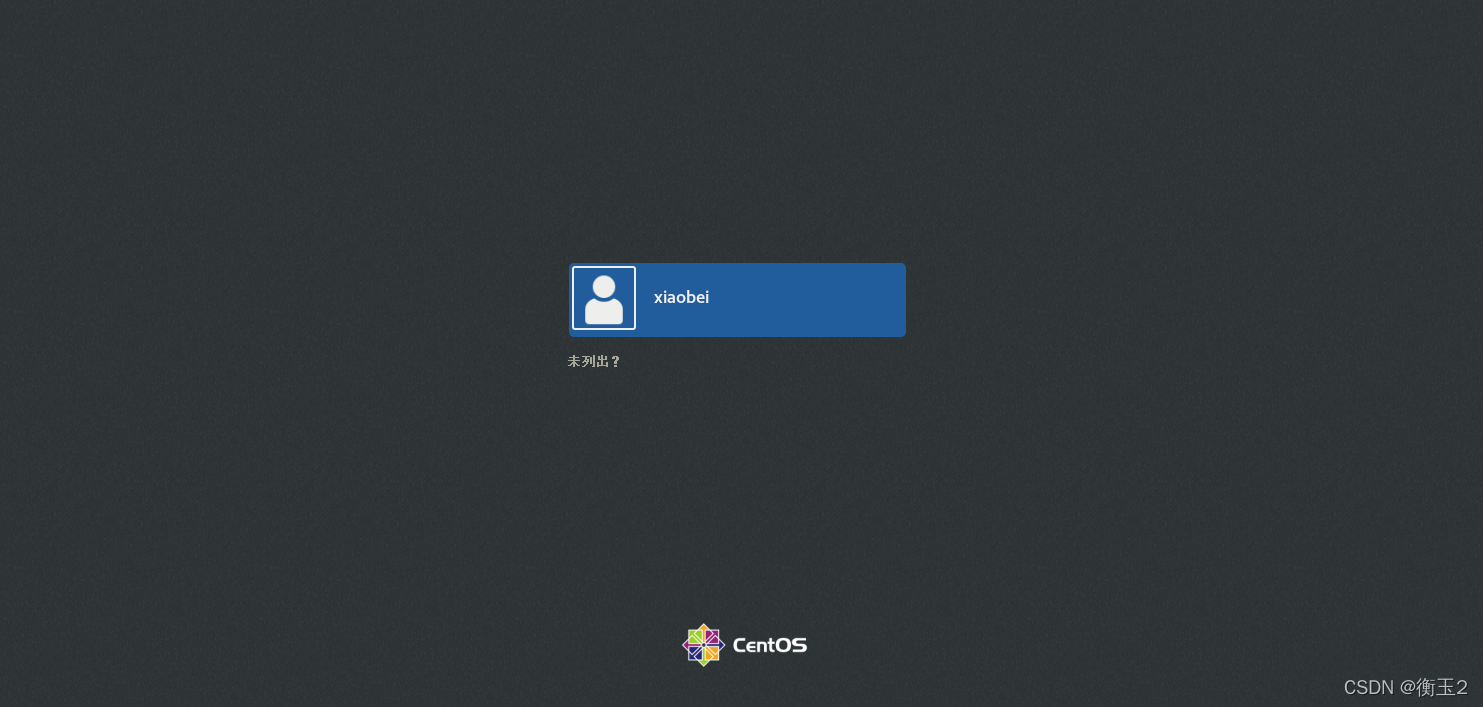
可点击未列出>
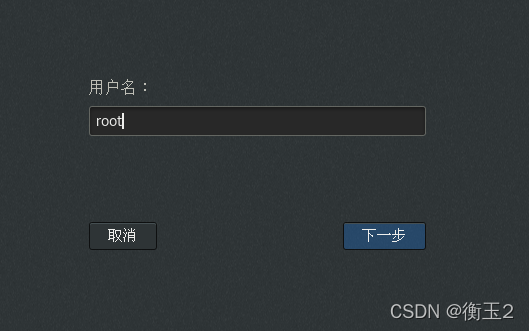
填写用户名:root>下一步>
填写之前的密码>登录>无脑前进>
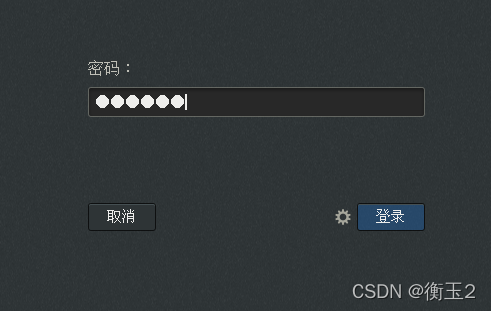
可选择关闭隐私>前进>安装完成!
 centos8 的终端为点击活动>打开终端
3.检查ping www.baidu.com是否通路,发现有问题解决办法及反思(忘记截图了)
ping baidu.com显示未知的名称或服务,检查ip配置和网关是否有误,无问题后,换了一个镜像文件,
由centos7.6换成8.1成功了.
四.搭建lamp环境
1.了解搭建环境几种方式
yum安装是将yum源中的rpm包下载到本地,安装这个rpm包。这个rpm包是别人编译安装好的二进制包。这种方式与其说是安装不如说是,更新来的更确切一点。
源码安装,下载是源码包,要进行编译和安装,编译过程,可以进行参数设定。
宝塔等一键安装
小结:搜比较时才发现新手最好源码安装(时间来不及了...)
2.搭建环境
ip addr //查看ip地址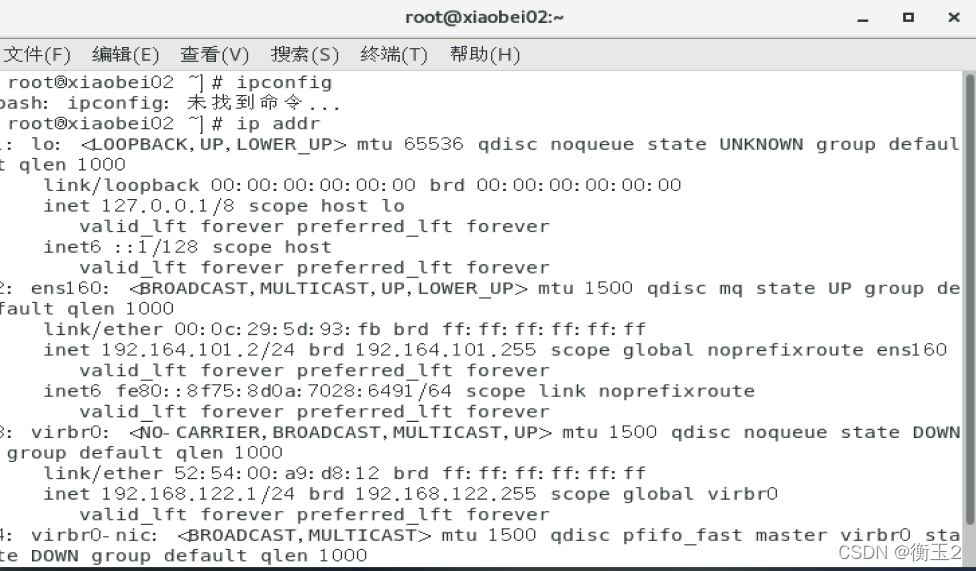
一.安装httpd服务( Apache)
sudo dnf install httpd httpd-tools//安装apache服务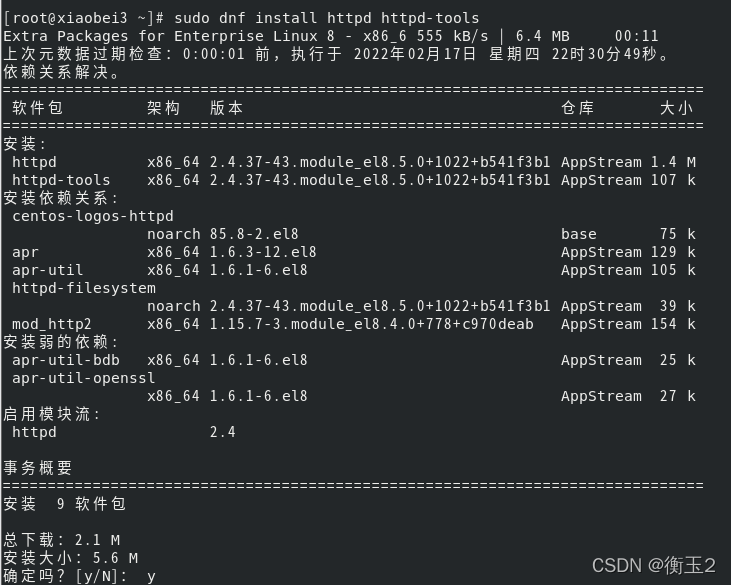
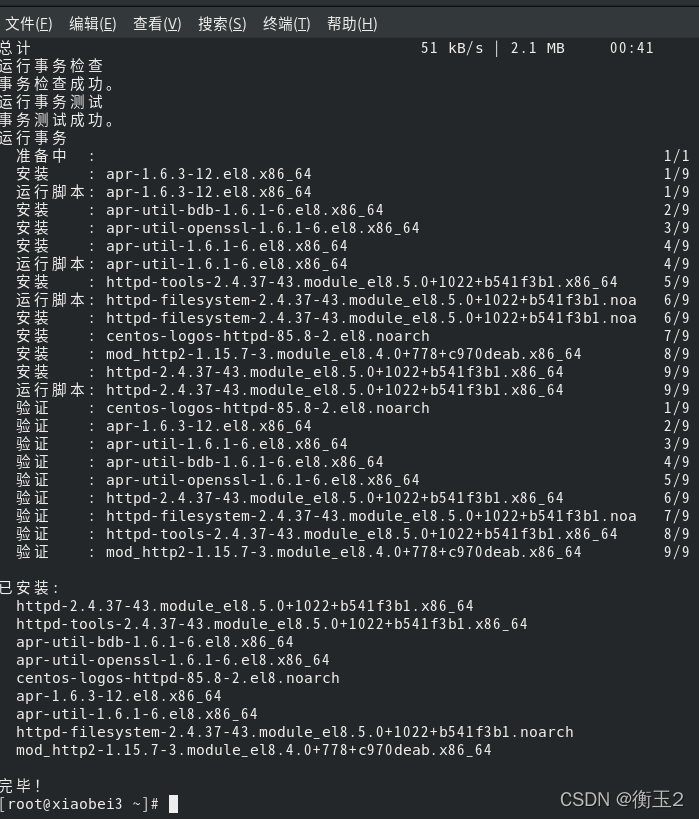
确定:y >安装完成>
systemctl start httpd.service #开启apache服务 vsystemctl enable httpd.service #apache服务开机启动systemctl status httpd.service #查看apache服务状态 出现如下界面代表安装完后:

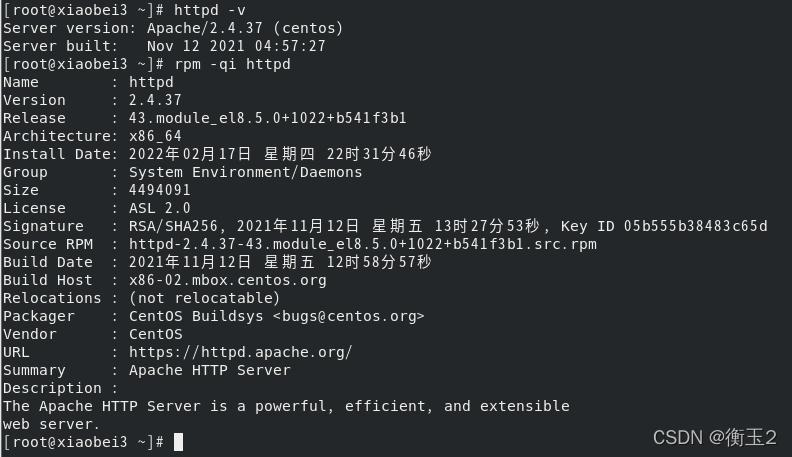
http -v//查看apache版本
rpm -qi httpd//或查看apache完整信息
启动后需要关闭服务器防火墙,以便浏览器可以正常访问apache服务。
systemctl stop firewalld.service     // 关闭防火墙
systemctl disable firewalld.service  // 禁止firewall开机启动
systemctl status firewalld.service   // 查看防火墙状态
防火墙已关闭:

关闭selinux,防止后续操作/var下文件时,无法授予该路径文件读写权限,执行如下命令。
setenforce 0// 关闭selinux
修改selinux配置文件,使其开机生效。
vi /etc/selinux/config # 修改值为disabled 如图: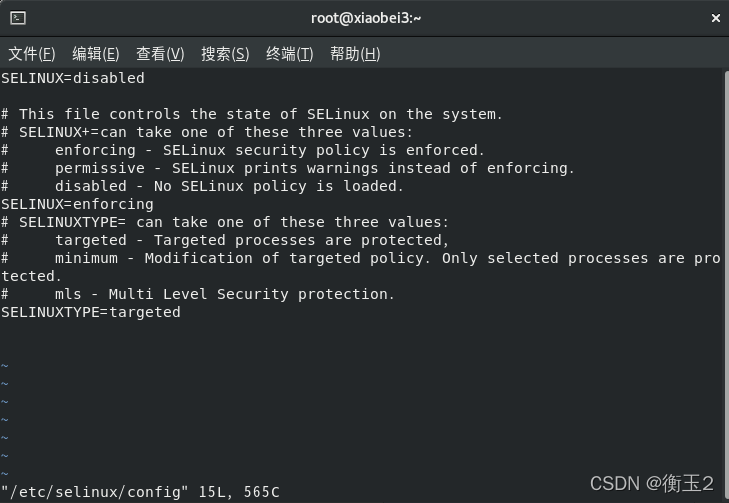
(服务器ip为前期配置的IP,可通过IP addr查询)
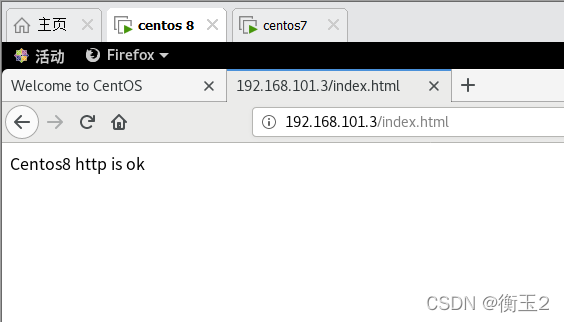
浏览器访问: http://服务器ip/index.html 展示出如下内容, 则表示apache配置访问成功,执行命令:
echo Centos8 http is ok > /var/www/html/index.html
如图所示:
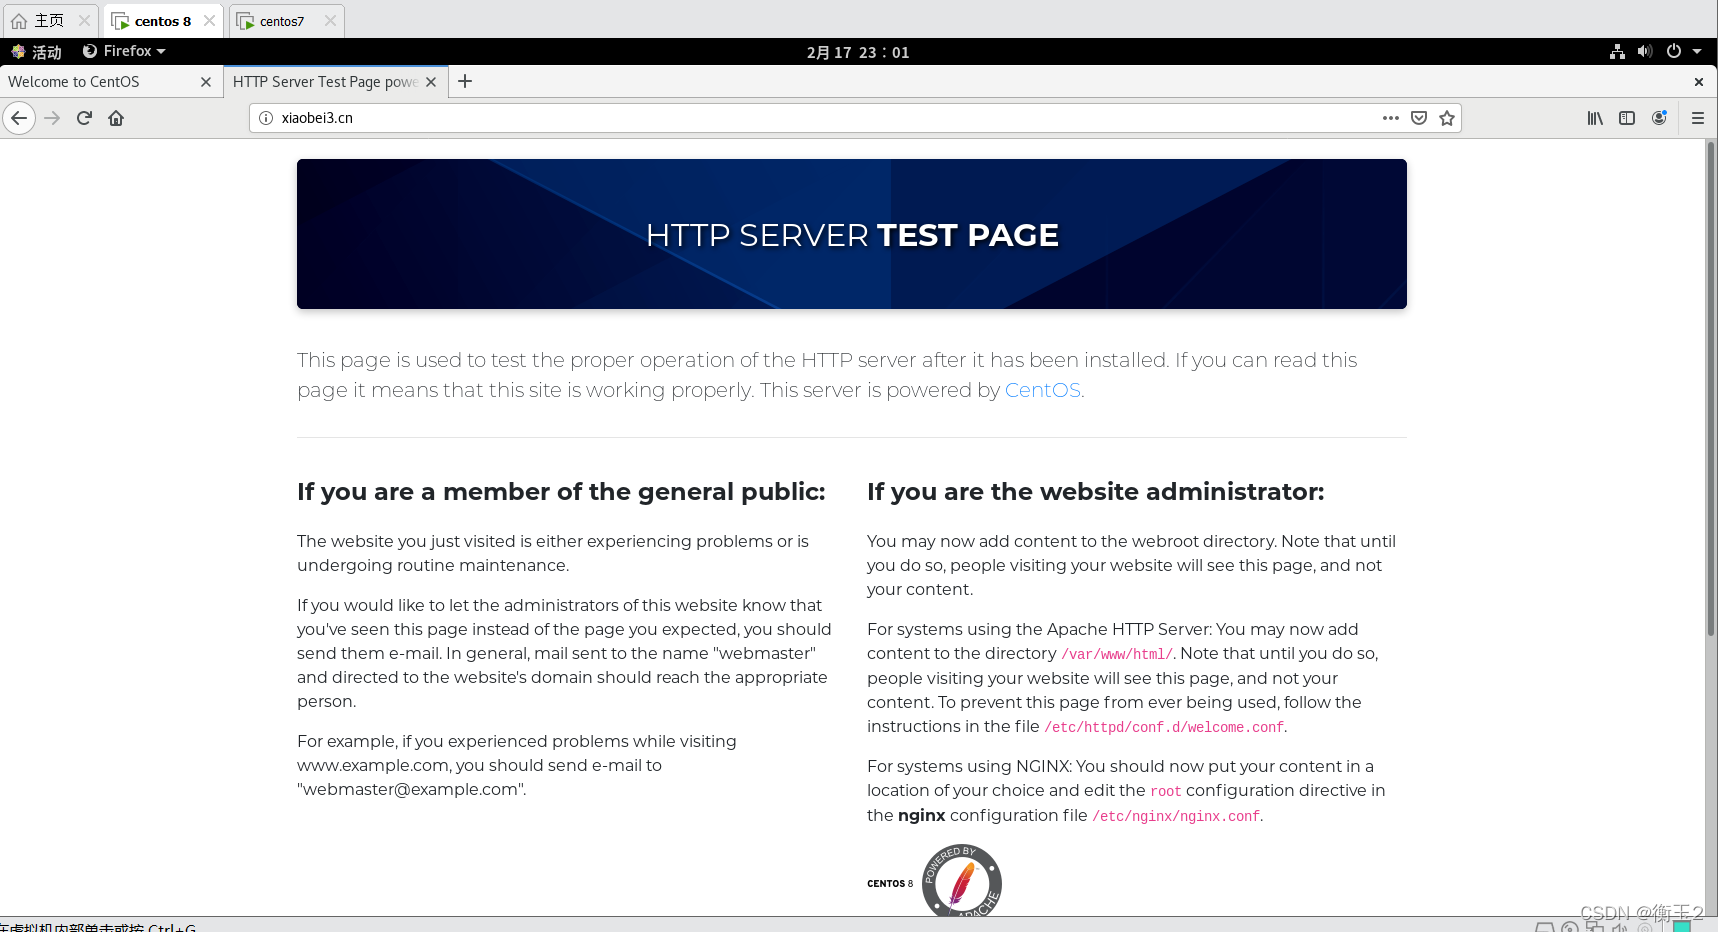
或输入xiaobei3.cn弹出测试页,表示配置成功:
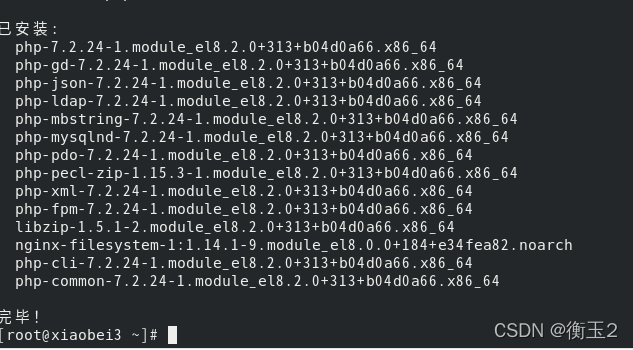
二. 在CentOS 8上安装安装php7.2以及所需组件:
安装php,执行代码:
sudo dnf install php php-pdo php-gd php-mbstring php-mysqlnd php-ldap php-json php-xml php-zip
如图所示:

测试 php 与apache 服务的整合, 命令行执行如下命令:
echo '<?php phpinfo();?>' > /var/www/html/index.php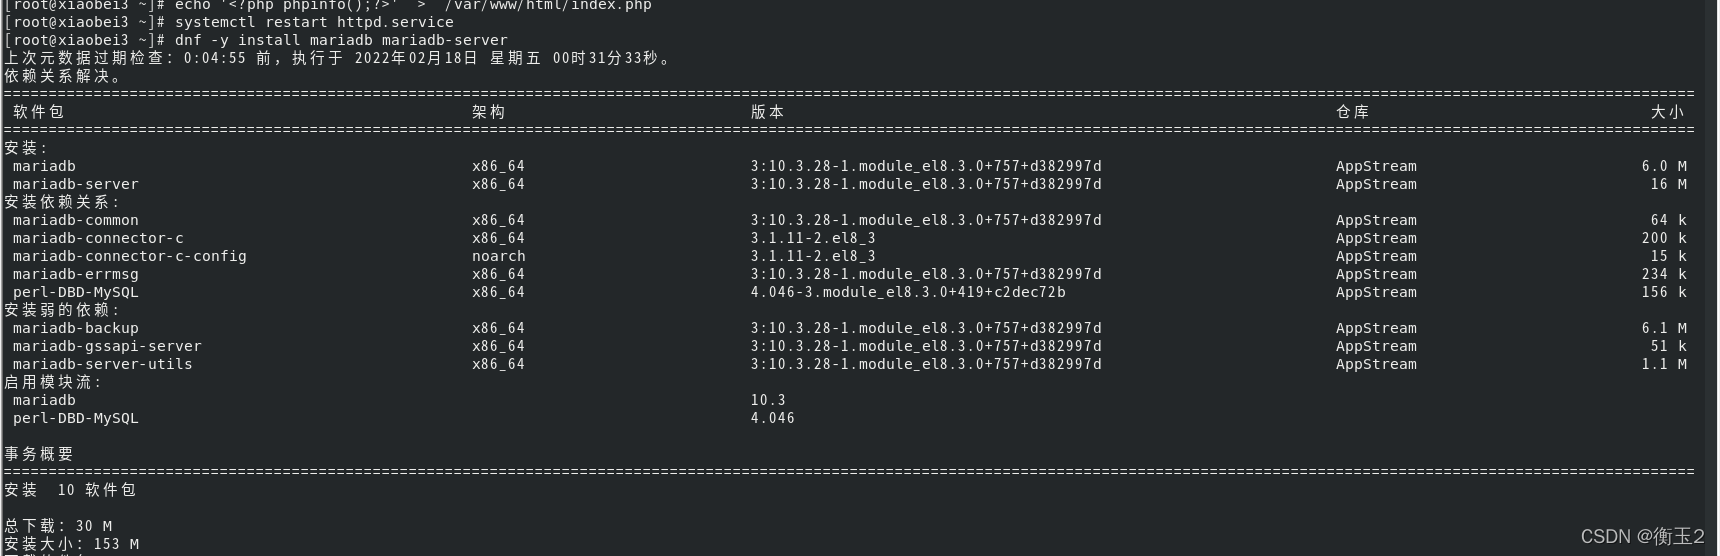

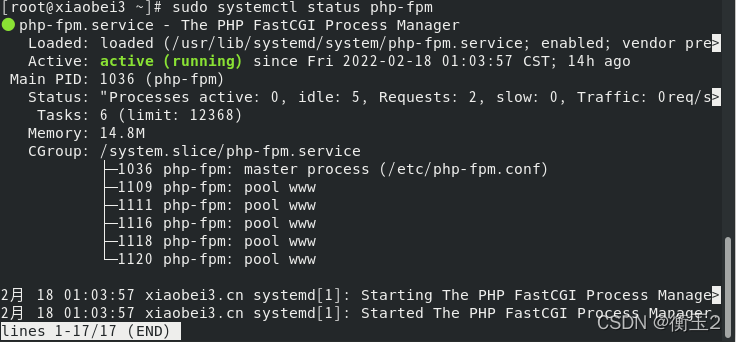
同时我们需要在启动时启动并启用PHP-FPM:
sudo systemctl start php-fpm   //开启php-fpm 服务
sudo systemctl enable php-fpm  //php-fpm服务开机启动
sudo systemctl status php-fpm  //查看php-fpm服务状态
如图:
重启apache服务,浏览器访问 http://服务器ip/index.php(服务器IP同上),页面展示如下则apache配置成功:
 三.在CentOS 8上安装MariaDB
dnf -y install mariadb mariadb-server
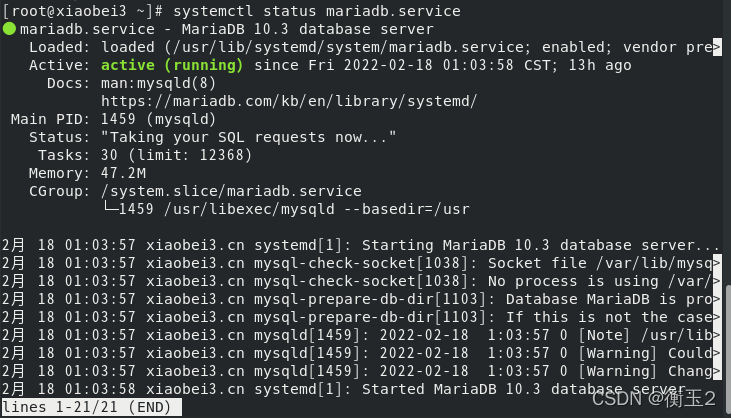
systemctl start mariadb.service # 开启服务
systemctl enable mariadb.service # 开机启动systemctl status mariadb.service # 查看服务状态如图:
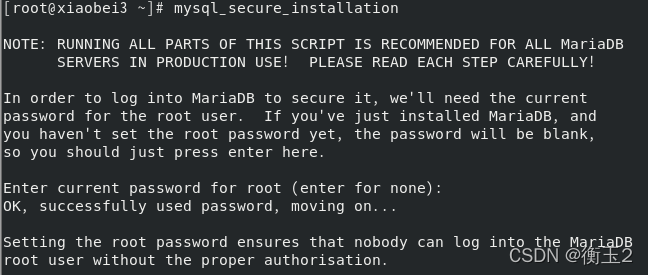
数据库安装设置,们需要通过secure来保护MariaDB数据库引擎,重置数据库root账号密码,执行该命令前必须开启mariadb服务。
mysql_secure_installation
Enter current password for root (enter for none): 输入当前root账号密码,刚安装默认为空,直接回车即可
Set root password? [Y/n] 是否输入root密码,输入y 回车
New password: 输入密码
Re-enter new password: 重复输入
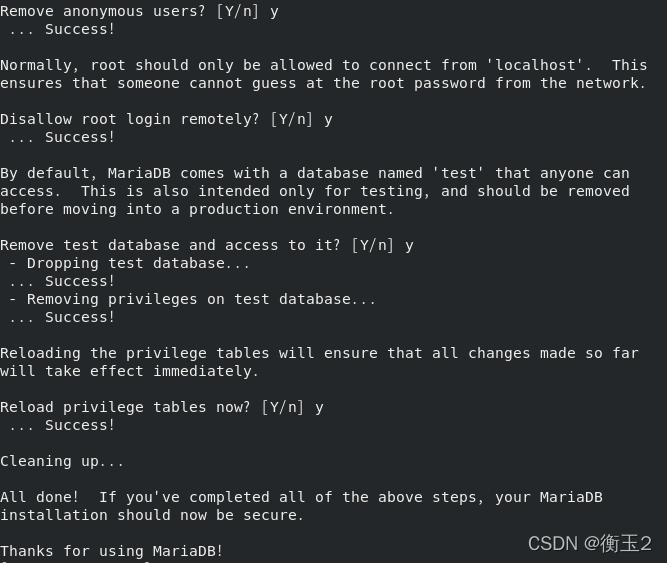
Remove anonymous users? [Y/n] 删除其他用户 y
Disallow root login remotely? [Y/n] 允许root账号远程登录 y
Remove test database and access to it? [Y/n] 删除测试表 y
Reload privilege tables now? [Y/n] 重新加载配置表 y如图:


 120
120

 暂无认证
暂无认证


 到【灌水乐园】发言


阿布_Z_Aries_ah: 我没有使用这个php-fpm,我到etc/httpd/conf/httpd.conf 加了 AddType application/x-httpd-php .php .phtml AddType application/x-httpd-php .php .php4 .php5 这个也能出现php那个首页的页面了
阿布_Z_Aries_ah: 引用「html/index.php」 php-fpm 没有这个东西啊